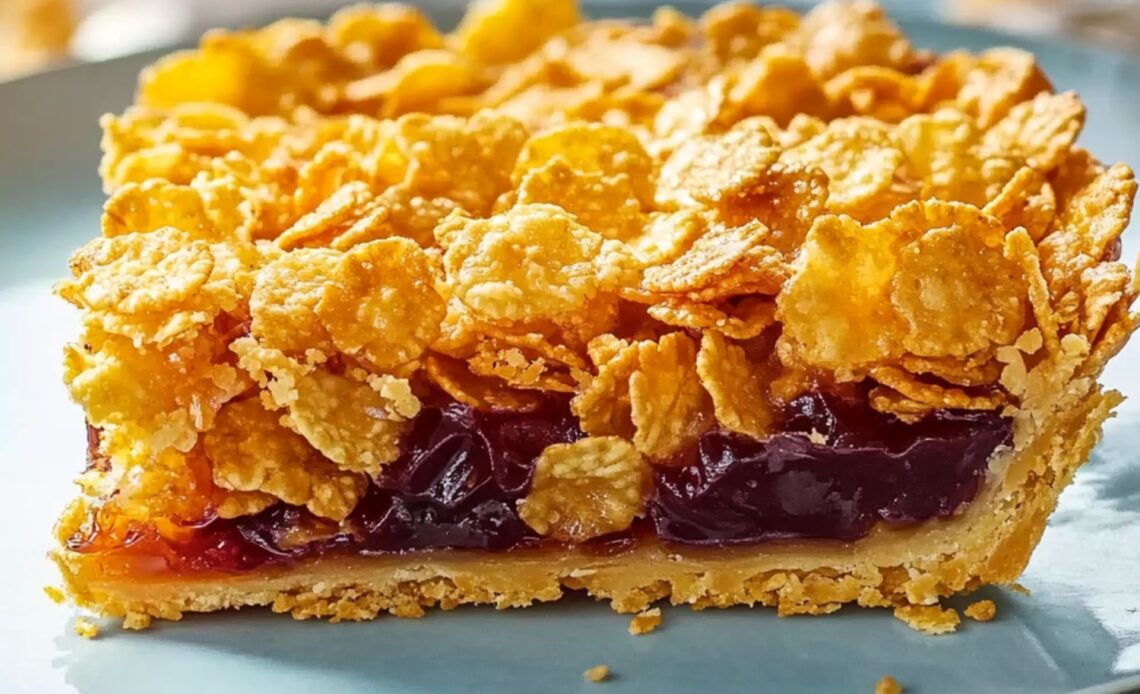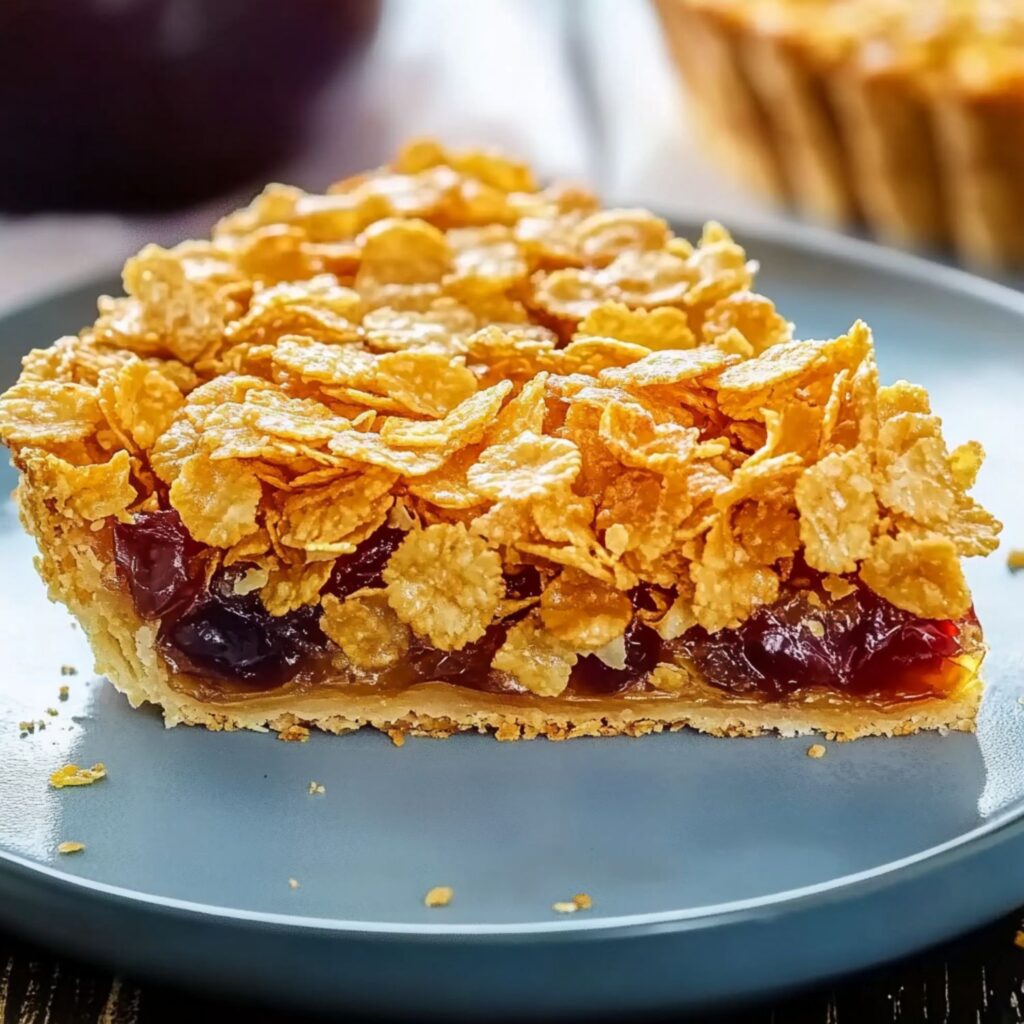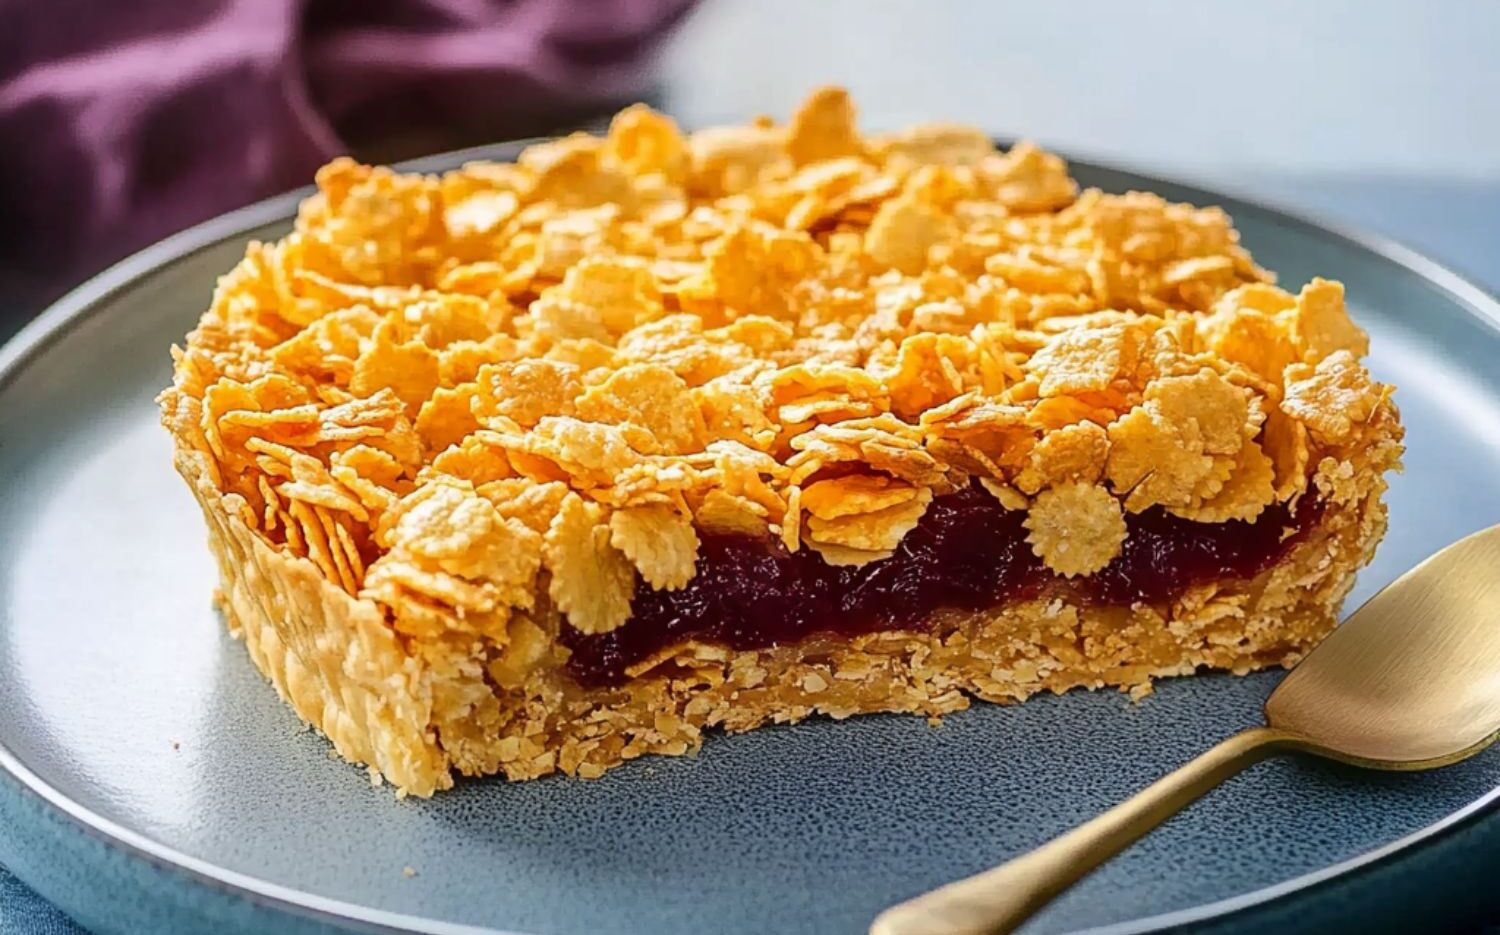
Let’s take a trip down memory lane with a classic British school treat: the Cornflake Tart. This nostalgic dessert will transport you to the bustling lunchrooms of yesteryear, where flaky pastry, tangy jam, and golden syrup-coated cornflakes came together in a delightful harmony.
A recent conversation with friends from the U.K., U.S., and the Netherlands sparked the inspiration for this recipe. As we shared childhood lunch stories, Ravi, a friend from Britain, regaled us with memories of this iconic dessert. Intrigued by his description, I knew I had to recreate it in my own kitchen.
The Cornflake Tart is a simple yet irresistible combination of textures and flavors, with chewy, crunchy, and buttery elements coming together in every bite. It’s quick to make, utterly satisfying, and a guaranteed crowd-pleaser. Let’s dive into this delightful piece of culinary nostalgia!
Why You’ll Love This Recipe
- Simple to Make: Just an hour from start to finish.
- Perfect Textures: Buttery pastry, sticky-sweet jam, and crunchy cornflakes.
- Nostalgia in Every Bite: A timeless dessert loved by generations.
- Customizable: Easily tweak ingredients to suit your taste.
- Crowd-Pleaser: Great for bake sales, school events, or a cozy family dessert.

Ingredients Overview
This recipe uses simple pantry staples to create a layered treat:
- Shortcrust Pastry: The buttery, flaky base for the tart.
- Jam: Raspberry or strawberry jam provides a tangy sweetness.
- Cornflakes: Coated in a luscious golden syrup mixture for crunch and flavor.
- Golden Syrup: The key to the signature caramelized flavor; honey can be a substitute.
How to Make the Recipe
Step 1: Make the Shortcrust Pastry
In a food processor fitted with the blade attachment, combine the flour, powdered sugar, and salt. Pulse a couple of times to mix. Add the diced cold butter and pulse until the mixture resembles wet sand. Gradually pour in the cold water, one tablespoon at a time, pulsing after each addition until the dough comes together.
Step 2: Roll Out the Dough
Lightly dust your countertop with flour. Roll out the dough into a 12-inch circle, about 1/8-inch thick. Begin rolling from the center outward, rotating the dough as you go to maintain a circular shape and prevent sticking. Dust with more flour as needed if the dough sticks to the surface or rolling pin.
Step 3: Line the Tart Pan
Carefully roll the dough around your rolling pin and unroll it over the tart pan. Gently press the dough into the pan, ensuring it fits snugly into the edges without stretching. Trim the excess dough by rolling the rolling pin over the edges of the pan. Place the crust in the freezer to chill while the oven preheats to 400°F.
Step 4: Blind Bake the Crust
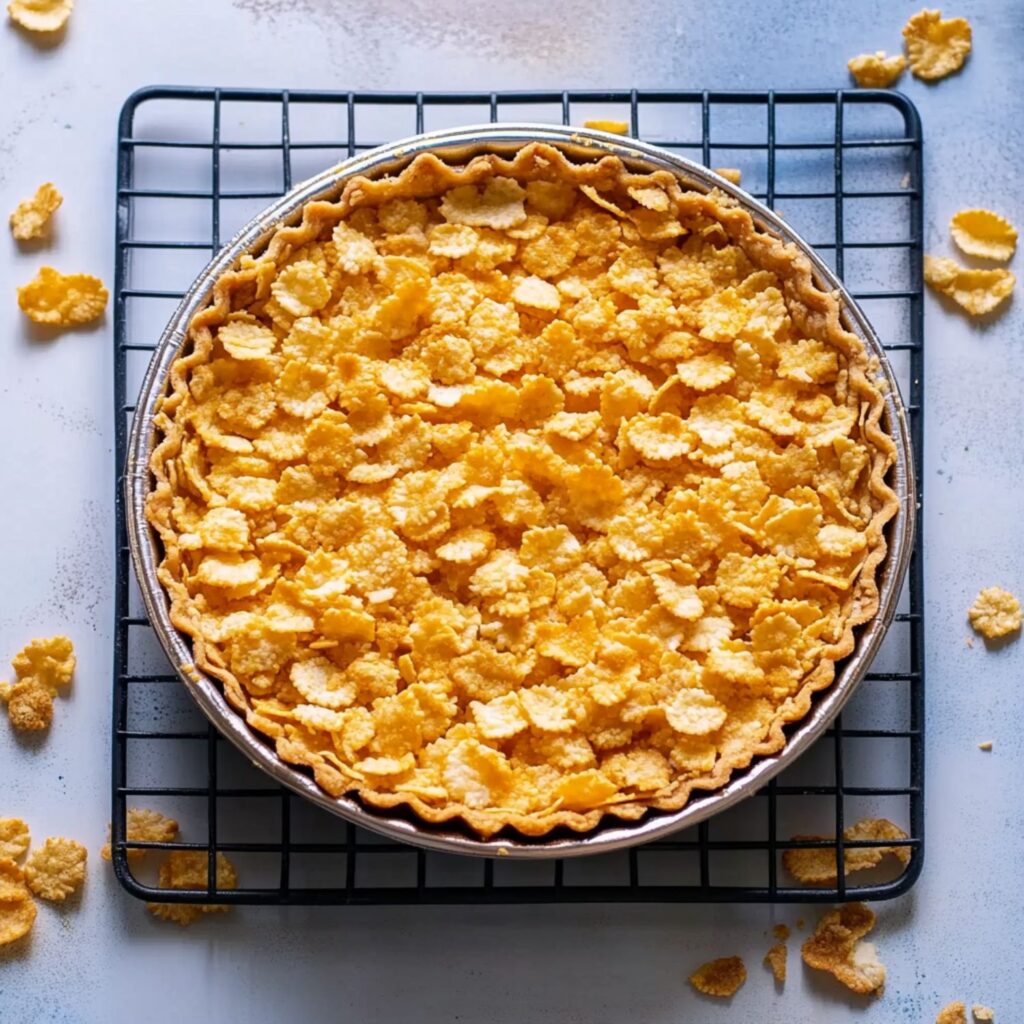
Once the oven has preheated, remove the crust from the freezer. Scrunch up a large piece of parchment paper, then smooth it out and place it inside the crust. Fill the crust with pie weights, dried beans, or uncooked rice. Bake for 15 minutes. Remove the weights and parchment, then return the crust to the oven and bake for another 10–15 minutes until golden brown. Let the crust cool on a wire rack.
Step 5: Prepare the Cornflake Filling
In a small saucepan over low heat, melt the butter, golden syrup, brown sugar, and salt, stirring until fully combined. Alternatively, you can melt this mixture in a microwave-safe bowl in 10-second intervals, stirring after each interval. In a large mixing bowl, combine the cornflakes and the melted mixture. Gently fold the cornflakes with a rubber spatula, ensuring they’re evenly coated without breaking them.
Step 6: Spread the Jam
Spread the raspberry jam evenly over the cooled tart shell using an offset spatula or the back of a spoon. Make sure to cover the entire surface in a smooth, even layer to create the tart’s sweet base.
Step 7: Add the Cornflake Mixture
Spoon the coated cornflakes over the jam layer, spreading them evenly to ensure the entire tart is covered. Use the spatula to press the cornflakes down gently, forming a cohesive topping while maintaining their crunch.
Step 8: Bake the Tart
Return the assembled tart to the oven and bake at 400°F for about 7 minutes, or until the cornflake topping is lightly golden and crisp. Remove the tart from the oven and let it cool completely in the pan on a wire rack before slicing and serving.

Tips for the Best Recipe
- Prevent a Soggy Crust: Brush with egg white after blind baking.
- Handle with Care: Mix cornflakes gently to maintain their crunch.
- Serve Fresh: Best enjoyed the day it’s made, though leftovers stay tasty for three days.
Variations to Try
- Jam Alternatives: Try apricot, blackberry, or even marmalade.
- Nutty Twist: Add toasted nuts like almonds or pecans.
- Cereal Swap: Use honey nut flakes or chocolate cereal for a unique flavor.
- Coconut Flair: Mix shredded coconut with the cornflakes for added texture
Frequently Asked Questions (FAQs)
Can I use pre-made pastry?
Absolutely! Store-bought shortcrust pastry saves time.
What can I use instead of golden syrup?
Honey is the best substitute, offering similar consistency and flavor.
How long does this tart stay fresh?
It keeps well in an airtight container for up to three days.
Can I freeze the tart?
Freezing is not recommended, as the cornflakes may lose their crunch.
Can I make mini tarts?
Yes! Use muffin tins to create individual portions.

How to Store and Reheat
Store the tart in an airtight container at room temperature for up to three days. To restore its crunch, reheat slices in a 300°F oven for 5–7 minutes.
Conclusion
This Cornflake Tart is a delightful blend of textures and flavors that will bring joy to your table. Whether you’re reliving nostalgic memories or discovering it for the first time, this recipe is sure to impress.
Try it out, and don’t forget to share your thoughts with us! For more delicious recipes, follow us on Pinterest at Ava Foodie.


