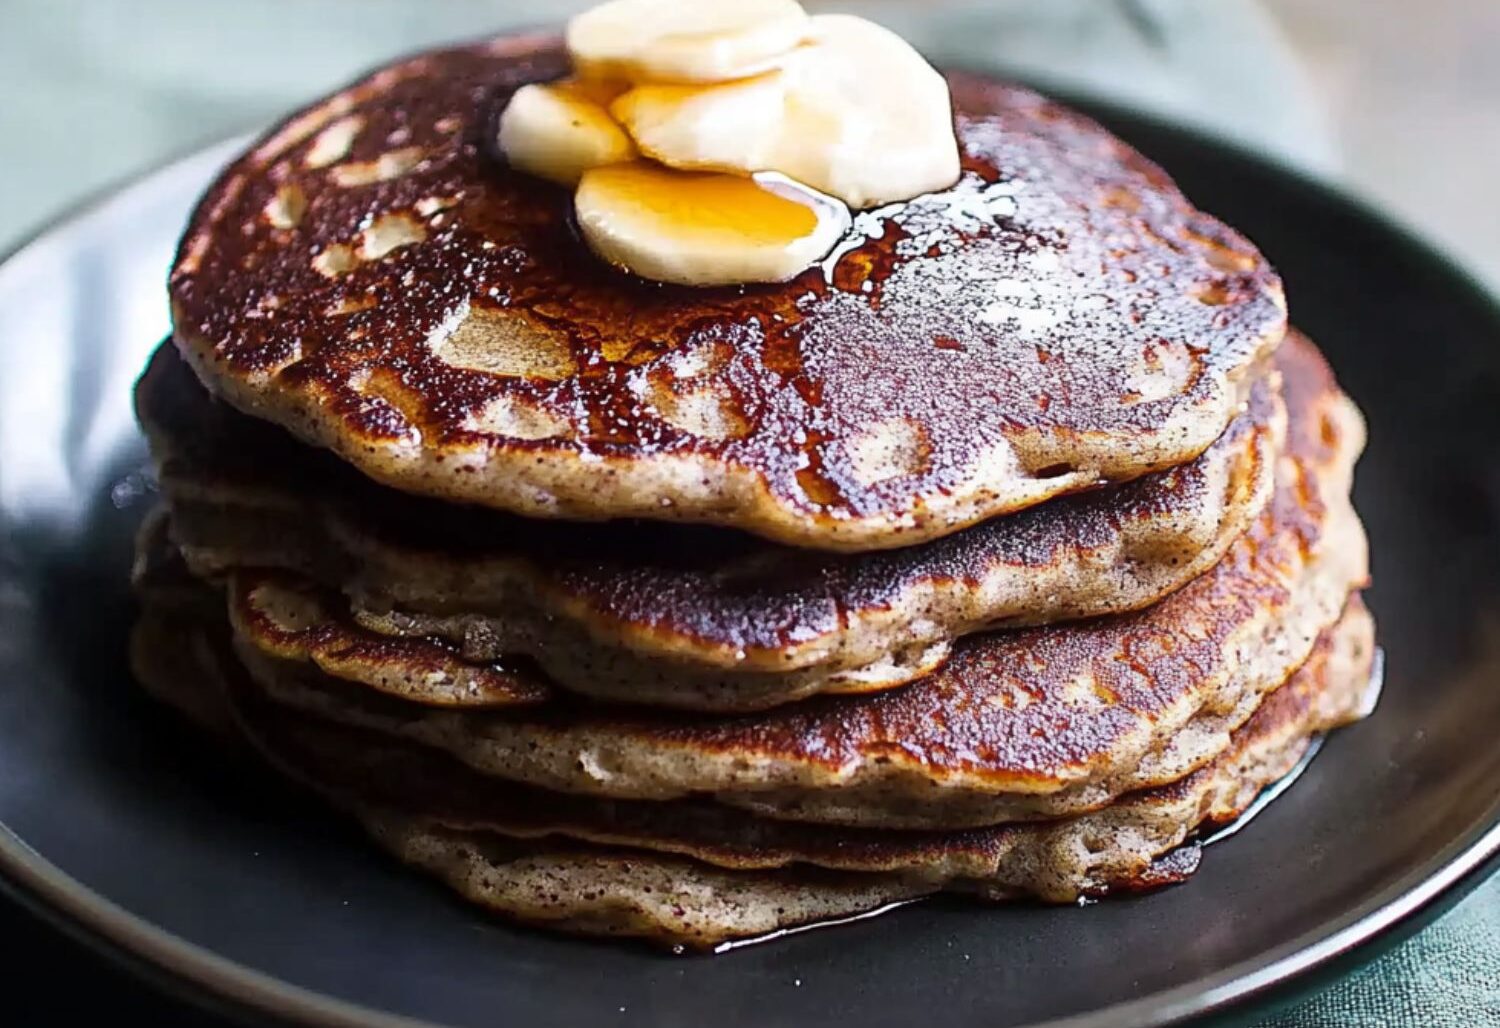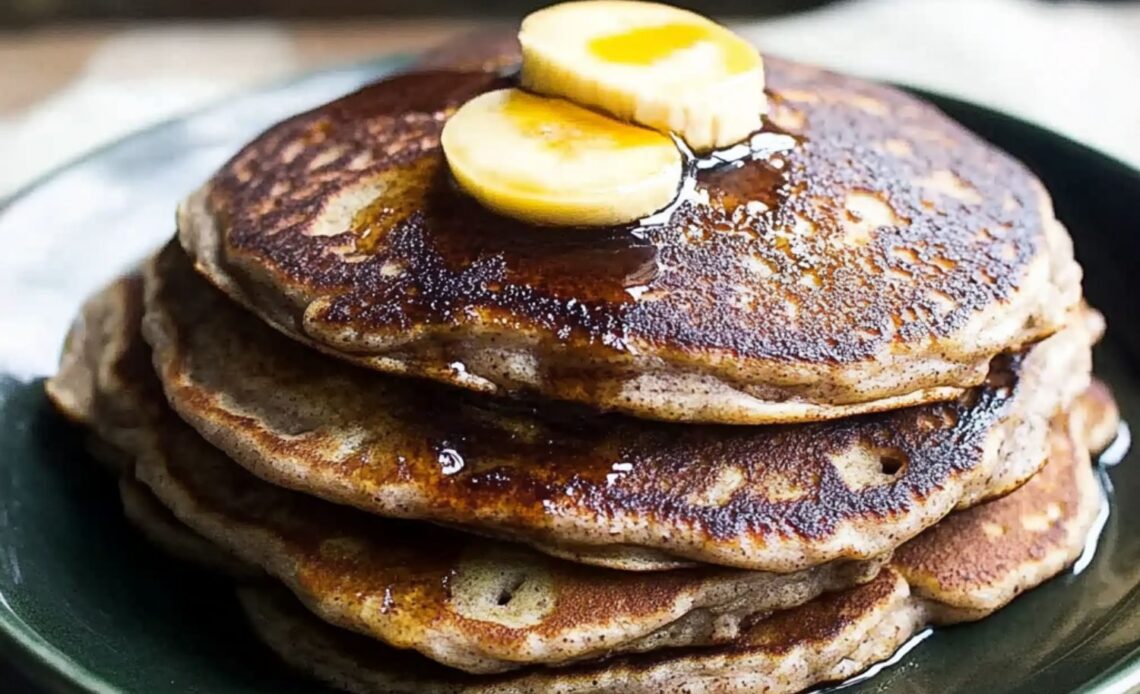
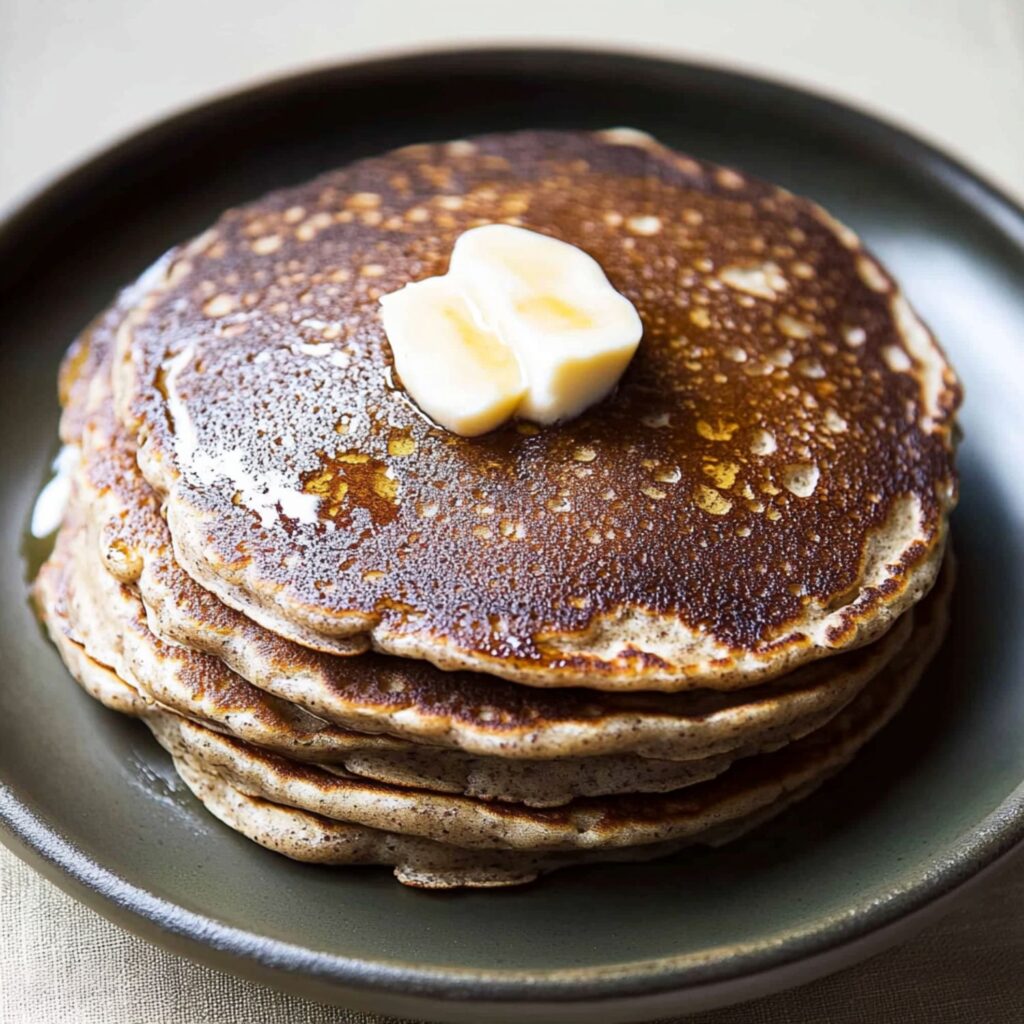
Buckwheat pancakes transport you back in time—imagine cozy mornings in a log cabin with a potbelly stove keeping the chill at bay. Once a staple ingredient in pioneer days, buckwheat still delivers rustic charm and wholesome flavor, making it a timeless favorite.
Despite its name, buckwheat is neither a grain nor wheat. It’s a seed that mimics wheat’s properties beautifully, producing fluffy pancakes with a deep, nutty, and earthy flavor that’s nothing short of delightful.
Whether you’re after a hearty breakfast or exploring gluten-free alternatives, buckwheat pancakes check all the boxes. This recipe is endlessly versatile, easily customizable, and sure to become a go-to option for breakfast lovers of all kinds.
Why You’ll Love This Recipe
- Naturally Gluten-Free Option: Use 100% buckwheat flour for a gluten-free treat.
- Rustic Flavor: The earthy richness of buckwheat is unique and comforting.
- Simple and Quick: With minimal prep and cook time, these pancakes come together in no time.
Ingredients Overview
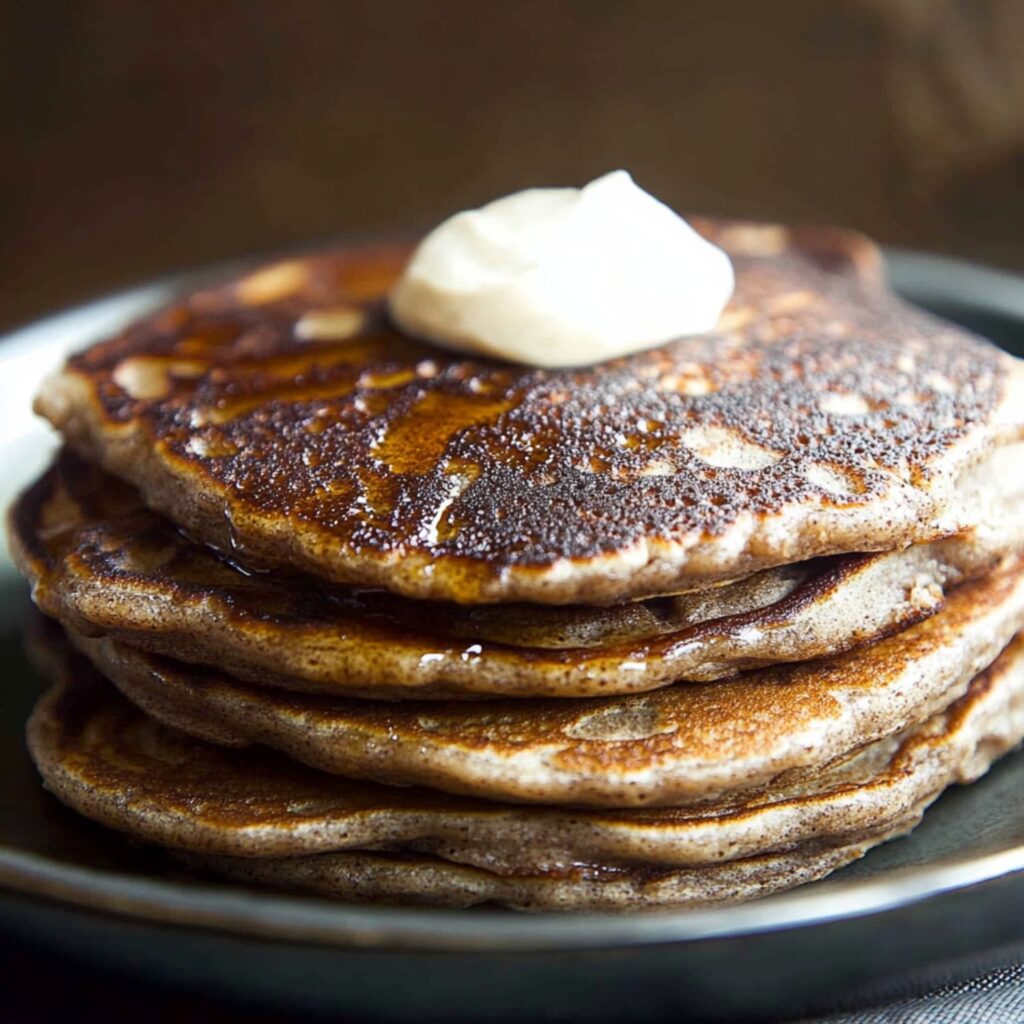
Buckwheat pancakes require a handful of pantry staples. The star of the show, buckwheat flour, provides a bold flavor and fluffiness. You can blend it with all-purpose flour for a lighter texture or go all-in for a gluten-free version. The egg adds structure, while buttermilk ensures moist, tender pancakes with a slight tang.
How to Make the Recipe
Step 1: Preheat the Skillet
Begin by heating a griddle, cast-iron skillet, or nonstick pan over medium heat. Ensure the pan is evenly heated before adding the batter. A hot skillet helps create evenly cooked pancakes with golden edges. Test the heat by sprinkling a few water droplets—if they sizzle, it’s ready. Keep the skillet on low while preparing the batter.
Step 2: Combine Dry Ingredients
In a large mixing bowl, whisk together ¾ cup buckwheat flour, ¾ cup all-purpose flour, 3 tablespoons sugar, 1 teaspoon baking soda, and ½ teaspoon salt. This step ensures even distribution of leavening agents for fluffier pancakes. Sift the ingredients if needed to remove any lumps. Mix thoroughly but do not overwork the mixture. Set the bowl aside.
Step 3: Prepare the Wet Ingredients
In a separate bowl, beat 1 egg (optional) and mix it with 1 cup buttermilk. Stir in 3 tablespoons of melted, slightly cooled butter. Gradually combine the wet mixture with the dry ingredients, stirring gently. Add more buttermilk, little by little, until the batter is thick but pourable. Avoid overmixing, as a few lumps are okay.
Step 4: Cook the Pancakes
Lightly coat the preheated skillet with vegetable oil, spreading it evenly using a paper towel. Use a ladle or ¼-cup measuring cup to pour batter onto the skillet, forming pancakes about 4–5 inches wide. Cook on medium-low heat for 2–3 minutes or until bubbles appear at the center and edges look set. Flip carefully and cook for another 1–2 minutes until golden brown.
Step 5: Serve and Keep Warm
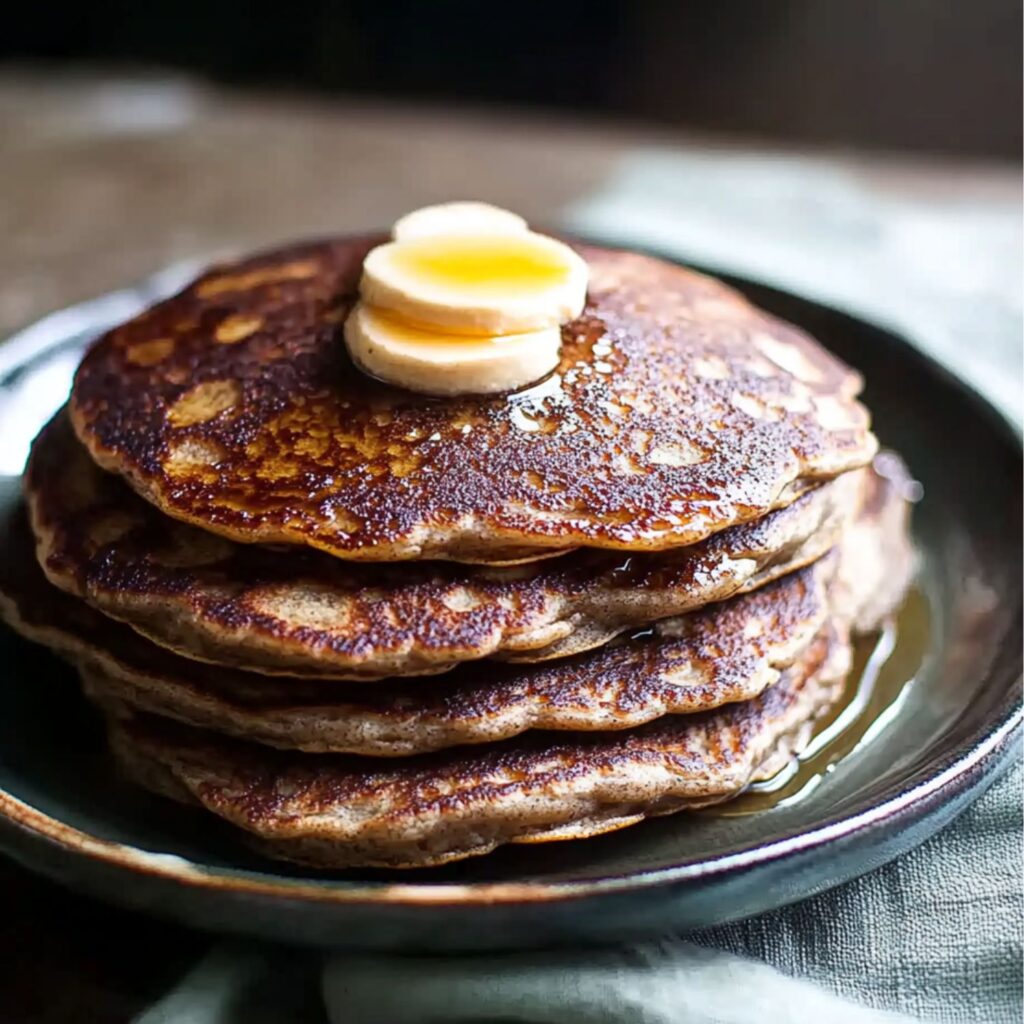
Transfer the cooked pancakes to a warm oven or cover them with a towel to keep them hot. Repeat the process with the remaining batter, lightly greasing the pan as needed. Serve immediately with butter, maple syrup, or your favorite toppings. Leftovers can be stored for future enjoyment or reheated for a quick breakfast.
Tips for the Best Recipe
- Use fresh buckwheat flour for optimal flavor.
- Let the batter rest for 5–10 minutes before cooking for fluffier pancakes.
- Keep the heat at medium-low to ensure even cooking.
Variations to Try
- Nutty Pancakes: Add chopped pecans or walnuts to the batter for crunch.
- Sweet Touch: Mix in chocolate chips or a splash of vanilla extract.
- Savory Twist: Skip the sugar and add fresh herbs or cheese for a savory version.
Frequently Asked Questions (FAQs)
1. Can I make these pancakes ahead of time?
Yes! Prepare the batter the night before and refrigerate. Let it sit at room temperature for 10 minutes before cooking.
2. How do I reheat leftover pancakes?
Reheat pancakes in a toaster, oven, or microwave. For the best texture, use the toaster or oven.
3. Can I freeze buckwheat pancakes?
Absolutely. Stack cooled pancakes with parchment paper between each and store them in an airtight container in the freezer for up to 3 months.
4. What toppings go well with buckwheat pancakes?
Classic maple syrup and butter are great, but try fresh berries, honey, or whipped cream for a twist.
5. Is buckwheat flour always gluten-free?
Yes, but check the packaging to ensure there’s no cross-contamination.
How to Store and Reheat
Storage: Place cooled pancakes in an airtight container and refrigerate for up to 3 days. For longer storage, freeze them as mentioned above.
Reheating: Toaster reheating restores a crispy edge, while the oven warms multiple pancakes at once without drying them out.
Conclusion
Buckwheat pancakes are a timeless breakfast option that combines rustic charm with delicious flavor. Whether you make them gluten-free or stick to a classic blend of flours, these pancakes offer a hearty, nutty taste that’s both satisfying and unique. Their fluffy texture and rich, earthy profile are sure to win over family and friends.
This recipe’s versatility allows for endless customization. Add fresh berries, nuts, or even a splash of vanilla to make it your own. The option to prepare the batter ahead of time or reheat leftovers makes these pancakes a convenient choice for busy mornings or lazy weekend brunches.
Ready to try this recipe? We’d love to hear how yours turn out! Don’t forget to pin this on Pinterest and follow Ava Foodie for more delicious ideas and breakfast inspiration. Bring the warmth of homemade goodness to your table with every bite of these delightful buckwheat pancakes.


