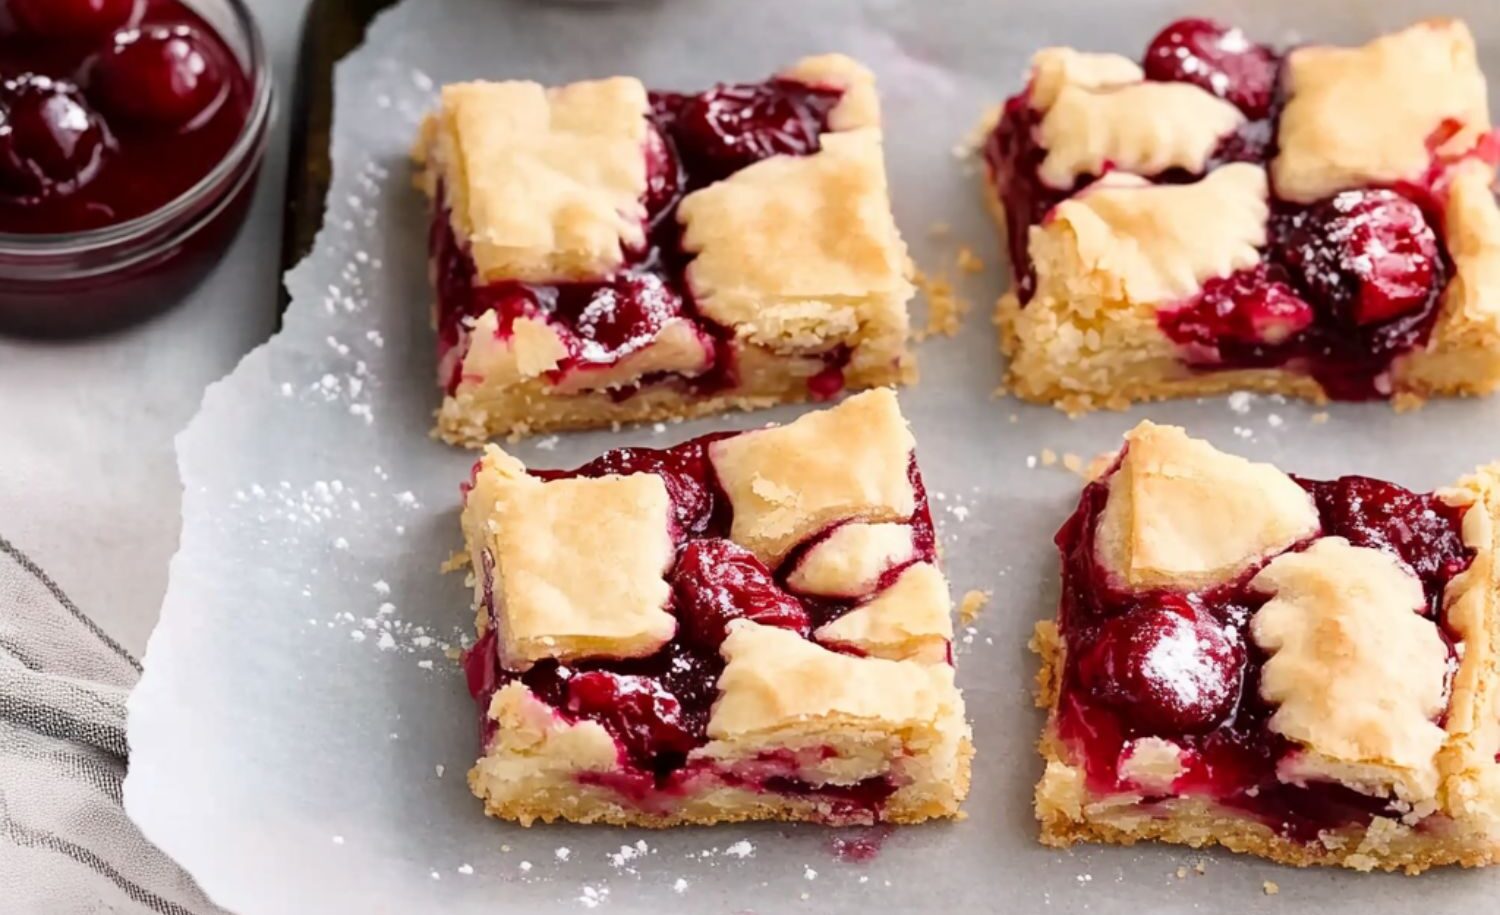

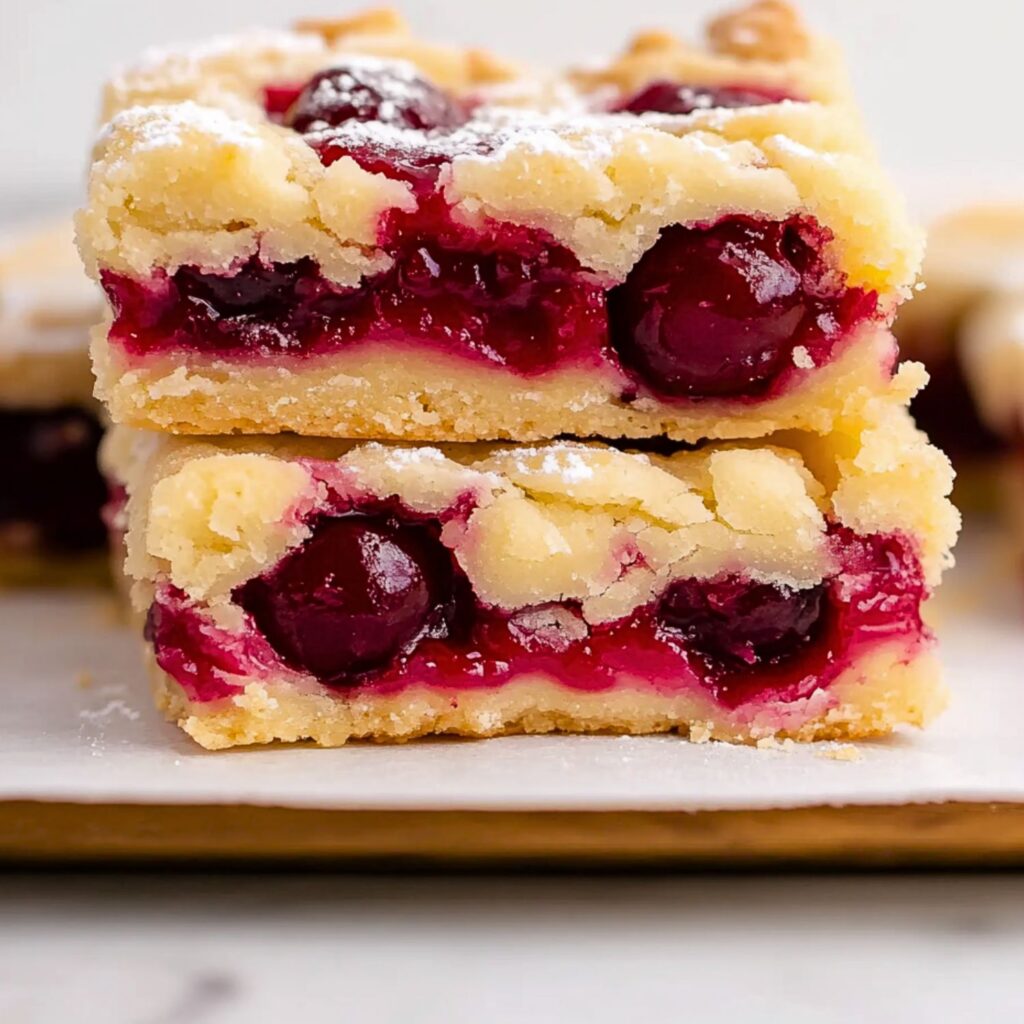
Cherry pie is a classic dessert, especially during the summer months. However, making a full pie can be a bit of a hassle with all the rolling, filling, and baking. Enter Cherry Pie Bars! These bars give you all the sweet, fruity flavor of a cherry pie but without the effort. The buttery crust and fruit filling are transformed into a neat, sliceable treat, perfect for parties or casual gatherings.
This recipe is so versatile—it’s easy to switch up the cherries, whether you use fresh, frozen, or even store-bought pie filling. You can also experiment with different fruit combinations. The best part? The buttery crust doesn’t just form the base, it also doubles as the topping, giving these bars a perfect crumble texture. Plus, a drizzle of icing takes them from casual to fancy in an instant.
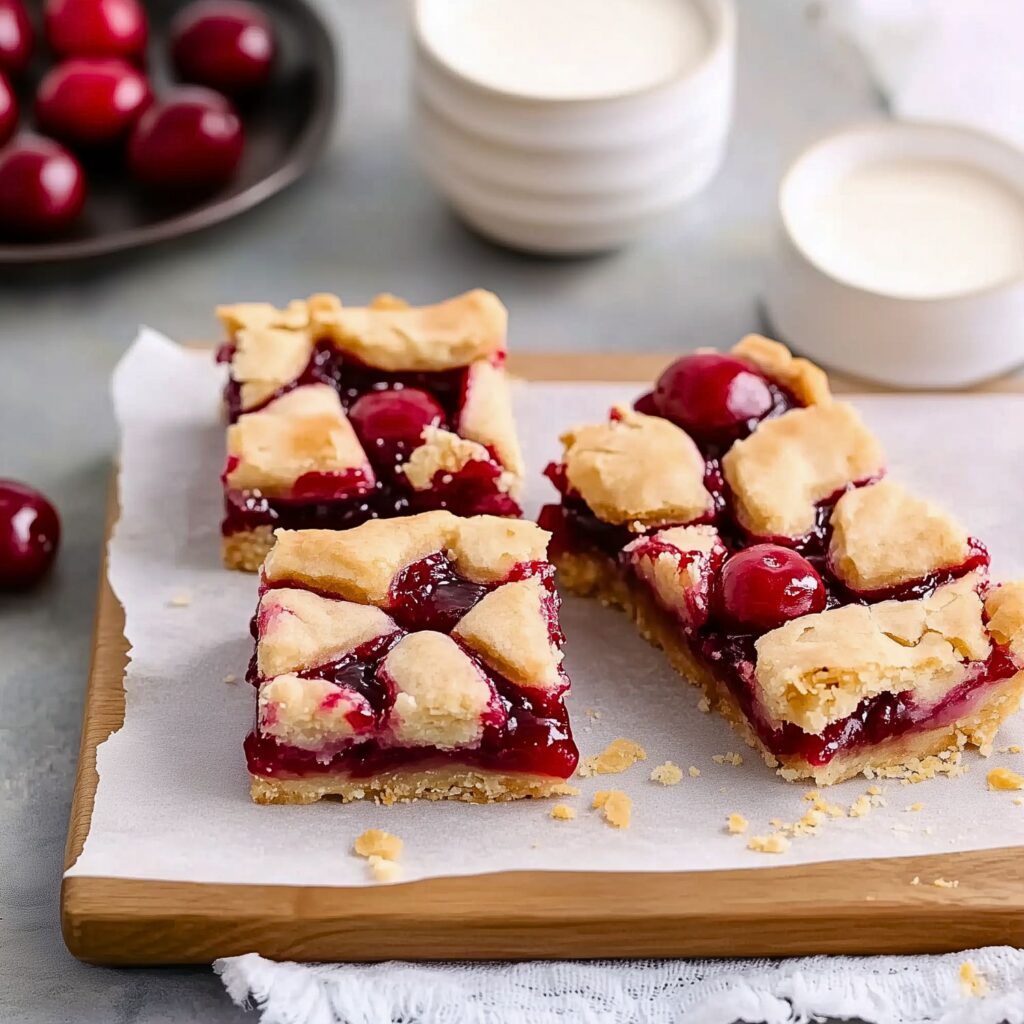
These Cherry Pie Bars are the ideal summer dessert, offering all the classic flavors of cherry pie without the complexity. Whether served at a dinner party or a barbecue, they’ll be a crowd-pleaser. Let’s dive in and make this super easy, incredibly delicious treat!
Why You’ll Love This Recipe
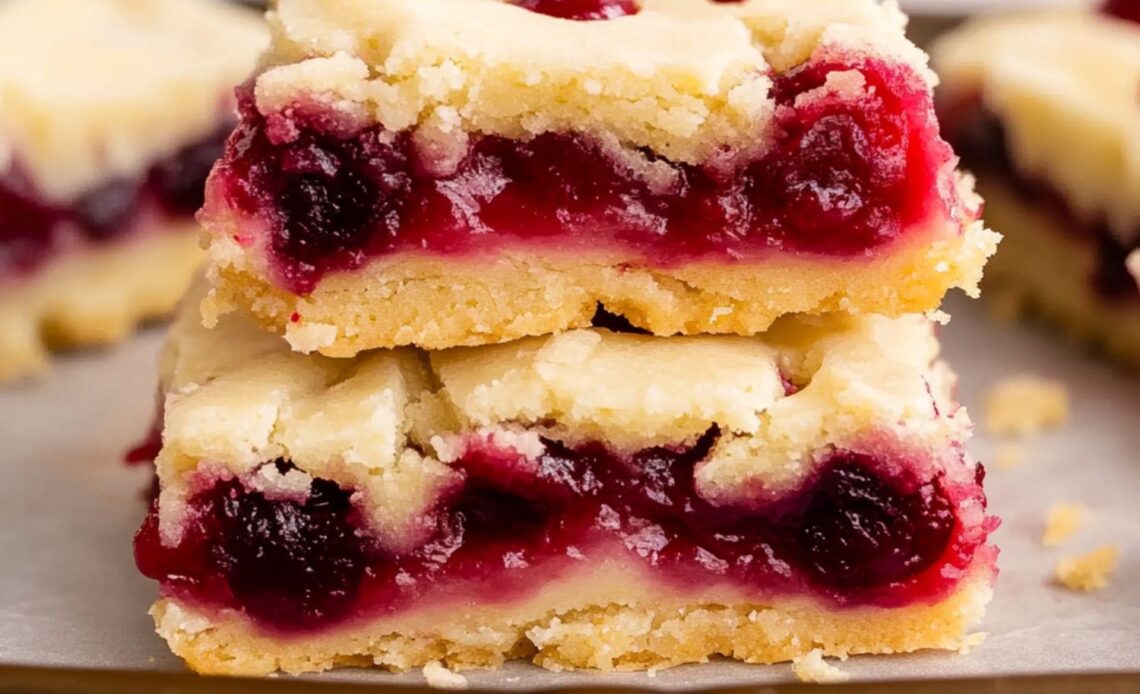
Cherry Pie Bars bring the classic flavors of cherry pie in a much easier, more accessible form. With the sweet and tangy fruit filling and a buttery shortbread crust that’s both the base and topping, they’re a delight to the taste buds. You don’t need forks—just slice and serve for a perfect, portable treat. And because they’re so easy to make, you can whip them up for any occasion, from family dinners to outdoor barbecues.
This recipe is also incredibly forgiving. Whether you’re using fresh or frozen cherries, sweet or tart varieties, or even canned pie filling, it will still turn out delicious. You can adapt this recipe to fit your personal taste by adding a twist to the flavor profile. These bars combine convenience with homemade charm, making them the perfect go-to dessert.
Finally, with options for a make-ahead approach, these Cherry Pie Bars are stress-free to prepare and perfect for busy days. Whether you’re hosting a get-together or just craving something sweet, they’re your new favorite easy dessert.
Ingredients Overview
To make these Cherry Pie Bars, you’ll need basic ingredients for the crust and filling. The crust requires all-purpose flour, butter, sugar, and a few other pantry staples, while the filling calls for fresh or frozen cherries, cornstarch, and a bit of lemon juice to enhance the cherry flavor. The optional icing is a simple mix of powdered sugar, vanilla, and heavy cream to give the bars a touch of elegance.
You can easily swap the cherries in the recipe. Sweet cherries are great, but sour cherries provide a more tart kick. If you don’t have access to fresh cherries, frozen ones are perfect, and even store-bought pie filling can save you time without compromising the flavor.
How to Make the Recipe
Step 1: Prepare the Cornstarch Slurry
In a small bowl, whisk together 3 tablespoons of cornstarch and 3 tablespoons of water until smooth. This slurry will help thicken the cherry filling. Set it aside for later use. If using fresh cherries, add a few extra tablespoons of water to the slurry.
Step 2: Make the Cherry Pie Filling
In a medium pot, combine 3 ½ cups of cherries, ½ cup of sugar, and 1 tablespoon of lemon juice over medium-high heat. Stir occasionally as the cherries release their juices. Once they’ve softened and started to release liquid, add the cornstarch slurry. Stir until thickened, then remove from heat.
Step 3: Prepare the Oven and Baking Dish
Preheat your oven to 350°F. Grease a 9×9-inch baking dish and line it with parchment paper, leaving some overhang for easy removal after baking. This will help the bars come out easily without sticking to the pan. Set the baking dish aside while you prepare the dough.
Step 4: Make the Shortbread Dough
In a large bowl, whisk together 2 ¼ cups of all-purpose flour, ½ teaspoon of baking powder, and ¼ teaspoon of salt. In a separate bowl, beat 1 cup of softened butter and ½ cup of sugar with a hand mixer until light and fluffy. Add 1 egg and 1 teaspoon of vanilla extract, and mix until fully combined. Stir in the dry ingredients to form a crumbly dough.
Step 5: Assemble the Cherry Pie Bars
Press about two-thirds of the shortbread dough evenly into the bottom of the prepared baking dish. Pour the cherry pie filling over the dough, spreading it into an even layer. Crumble the remaining dough into small, pea-sized pieces and sprinkle it over the cherry filling. This will form the top layer of the bars.
Step 6: Bake the Cherry Pie Bars
Place the assembled bars into the preheated oven and bake for 25-30 minutes. The top should be golden brown and the filling bubbling. After baking, remove from the oven and let cool in the pan for at least 1 hour to set before cutting into slices.
Step 7: Make the Icing (Optional)
In a medium bowl, whisk together 1 cup of powdered sugar, 2 tablespoons of heavy cream, and ½ teaspoon of vanilla extract. The icing should be smooth and slightly thick. Drizzle it over the cooled bars just before serving to add a sweet, finishing touch.
Tips for the Best Recipe
- Avoid overmixing the shortbread dough to keep it light and crumbly.
- If the dough is too sticky, chill it in the fridge for 30 minutes before assembling the bars.
- Taste your filling as you cook it—depending on the sweetness or tartness of your cherries, you may want to adjust the sugar or add a little more lemon juice.
Variations to Try
- Swap cherries with other fruits like blueberries, raspberries, or peaches for a unique twist.
- Add ½ teaspoon of almond extract to the filling for extra depth of flavor.
- Add a dash of cinnamon to the cherry filling to bring in a warm, fall-inspired touch.
- Sprinkle rolled oats over the crumble topping for added texture.
Frequently Asked Questions (FAQs)
1. Can I use store-bought pie filling?
Yes! If you want to save time, use one 21-ounce can of store-bought cherry pie filling. Just skip the steps for making the filling and layer the canned filling over the crust before adding the crumble topping.
2. How do I know when the bars are done baking?
The bars are ready when the top is golden brown. If you tap the crumble topping, it should feel firm and slightly crispy.
3. Can I use frozen cherries?
Yes, frozen cherries work great in this recipe. They tend to release more juice, which creates a thicker, syrup-like filling. There’s no need to thaw them before using.
4. Can I make these bars ahead of time?
Absolutely! You can make the cherry pie filling and the shortbread dough in advance and store them separately in the fridge. Assemble the bars when you’re ready to bake.
5. How do I store leftovers?
Store leftover bars in the baking dish, covered with plastic wrap, in the fridge for up to 4 days. They also freeze well for up to 3 months. Just thaw at room temperature before serving.
How to Store and Reheat
To store your Cherry Pie Bars, cover them with plastic wrap and keep them in the refrigerator for up to 4 days. They can also be frozen for up to 3 months. To reheat, simply let them come to room temperature for 1-2 hours or warm them up in the oven at 300°F for 10-15 minutes.
Conclusion
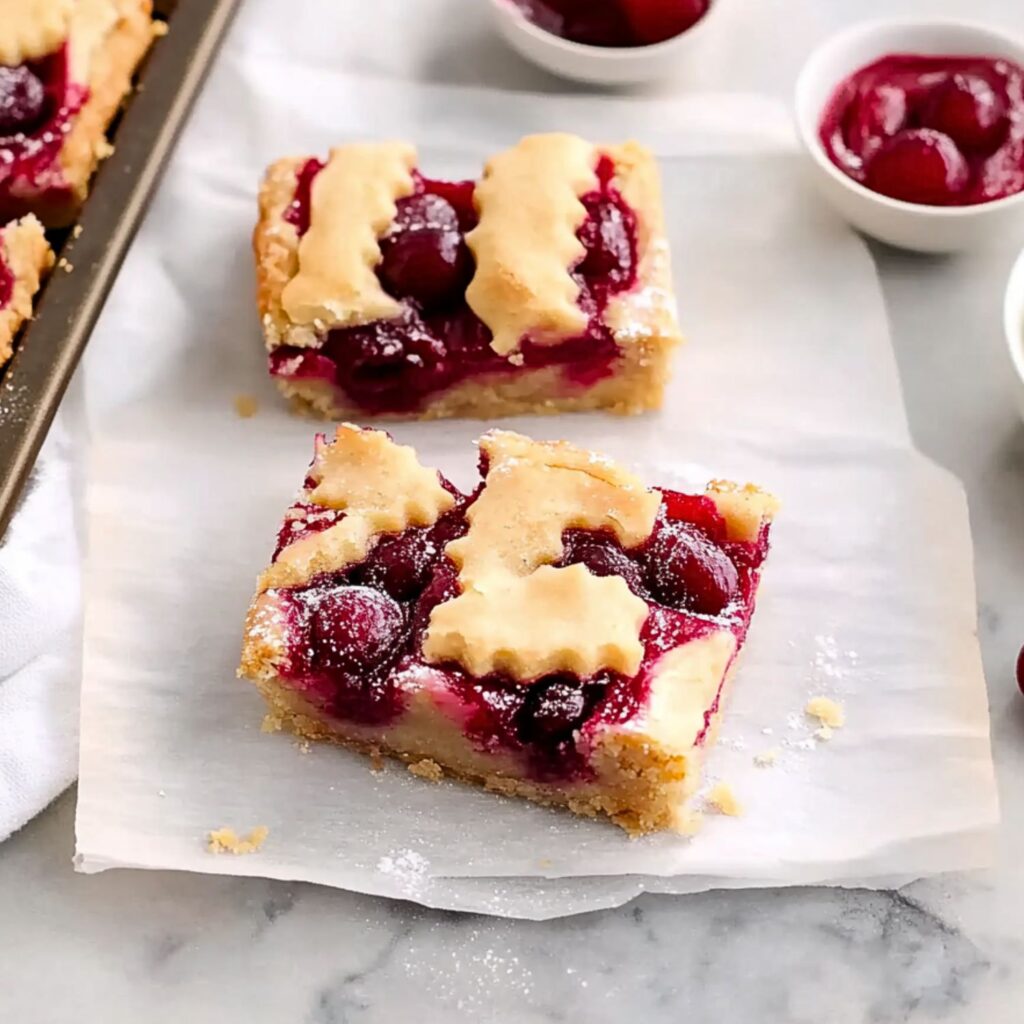
These Cherry Pie Bars combine the best parts of a cherry pie—sweet, fruity filling, buttery crust, and a delightful crumble topping—without the fuss. Perfect for summer parties, casual family dinners, or just because, they’re guaranteed to impress. Make sure to drizzle them with the optional icing for that extra touch of sweetness!
Don’t forget to follow Ava Foodie on Pinterest for more delicious, easy-to-make desserts like this one!