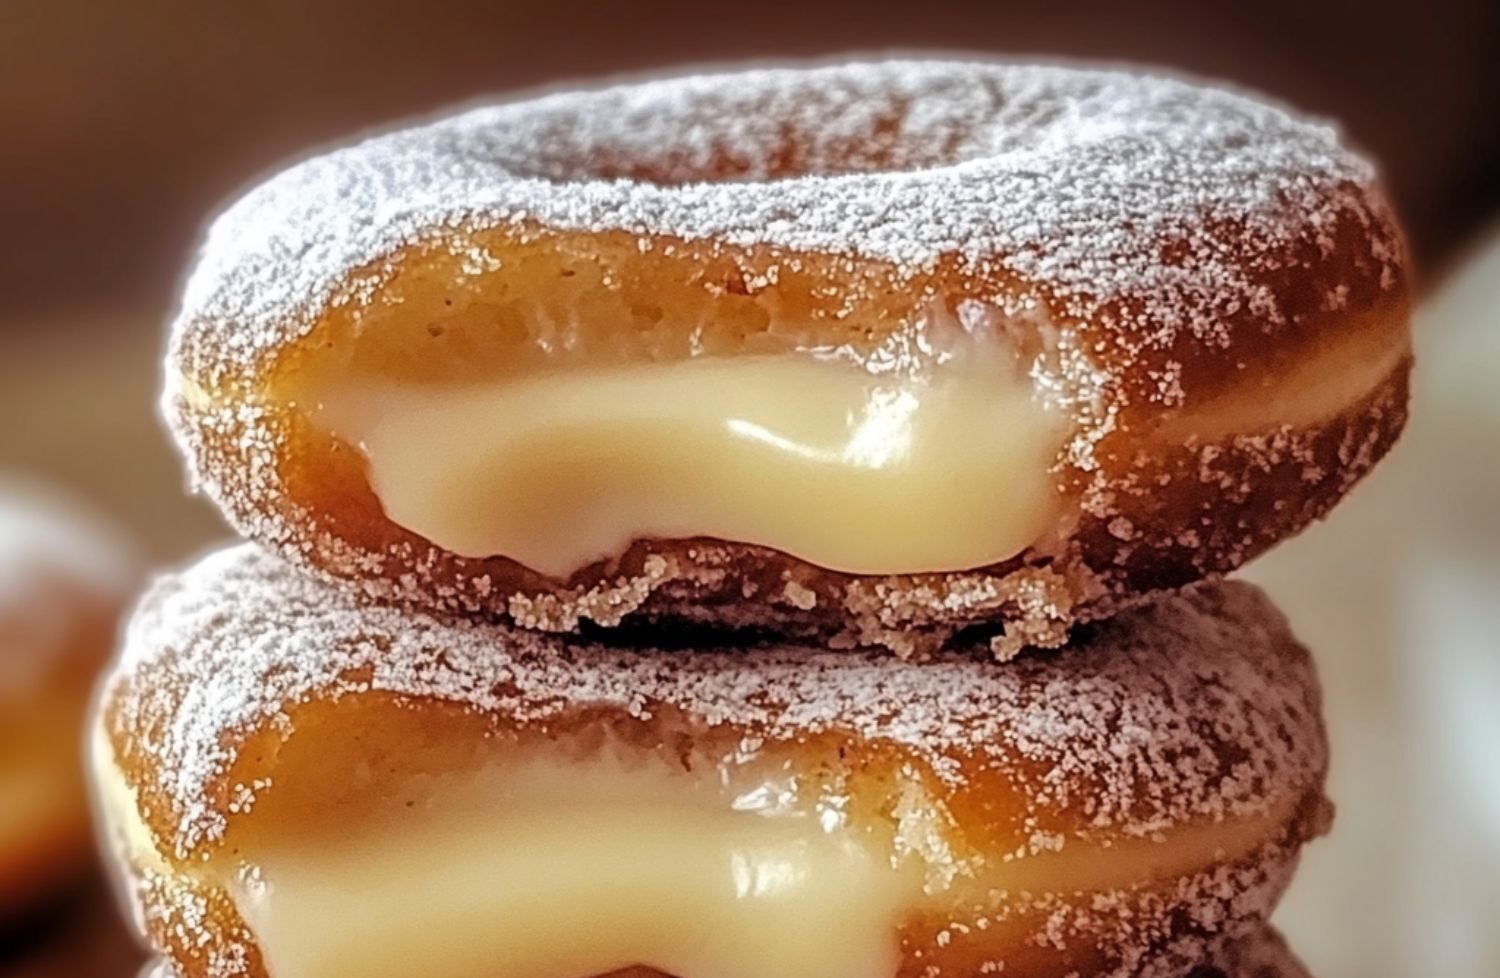

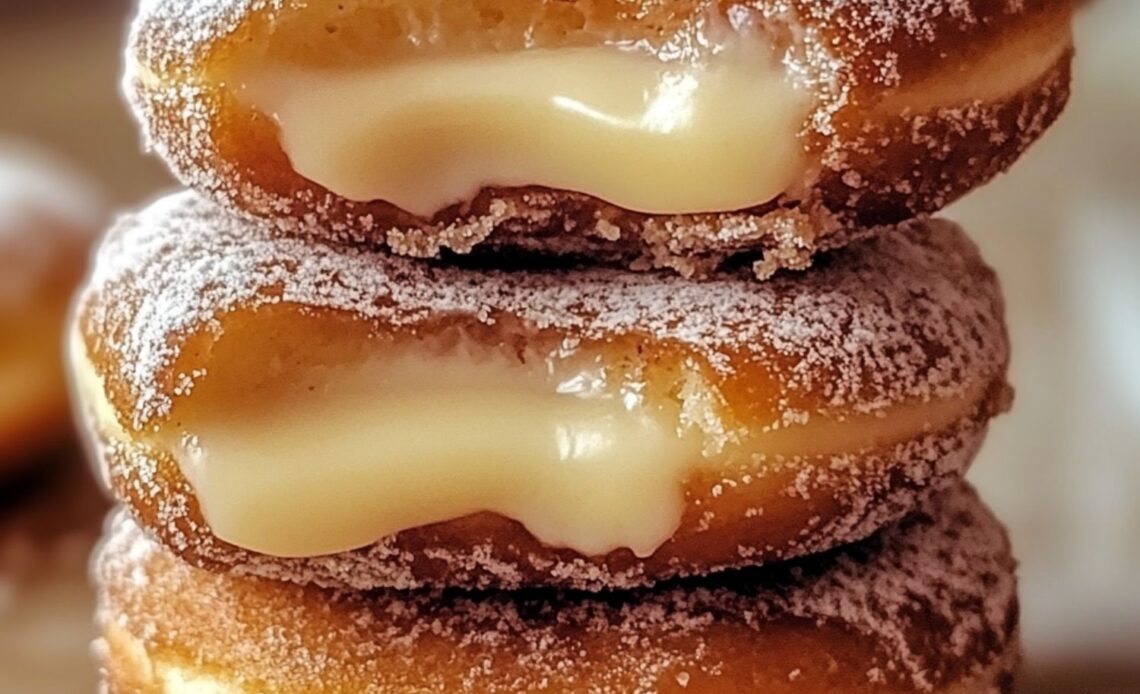
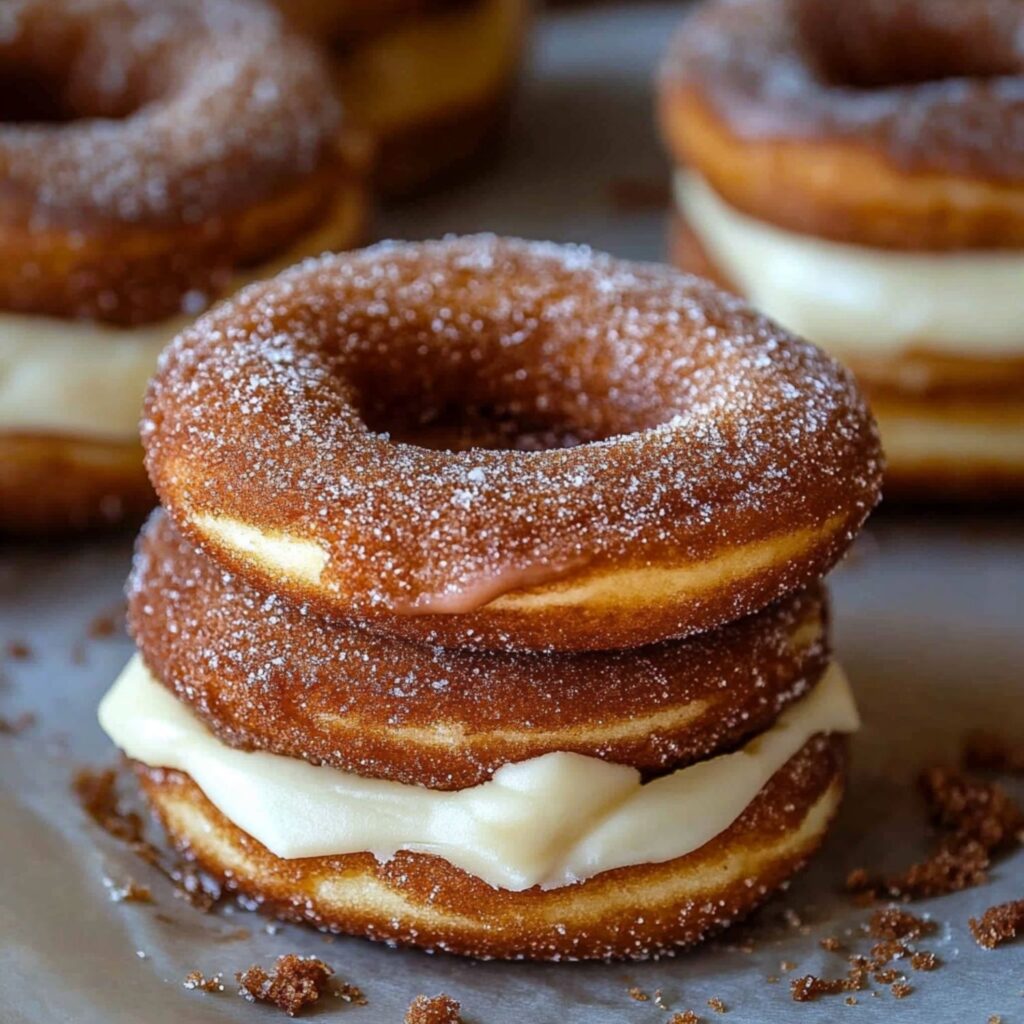
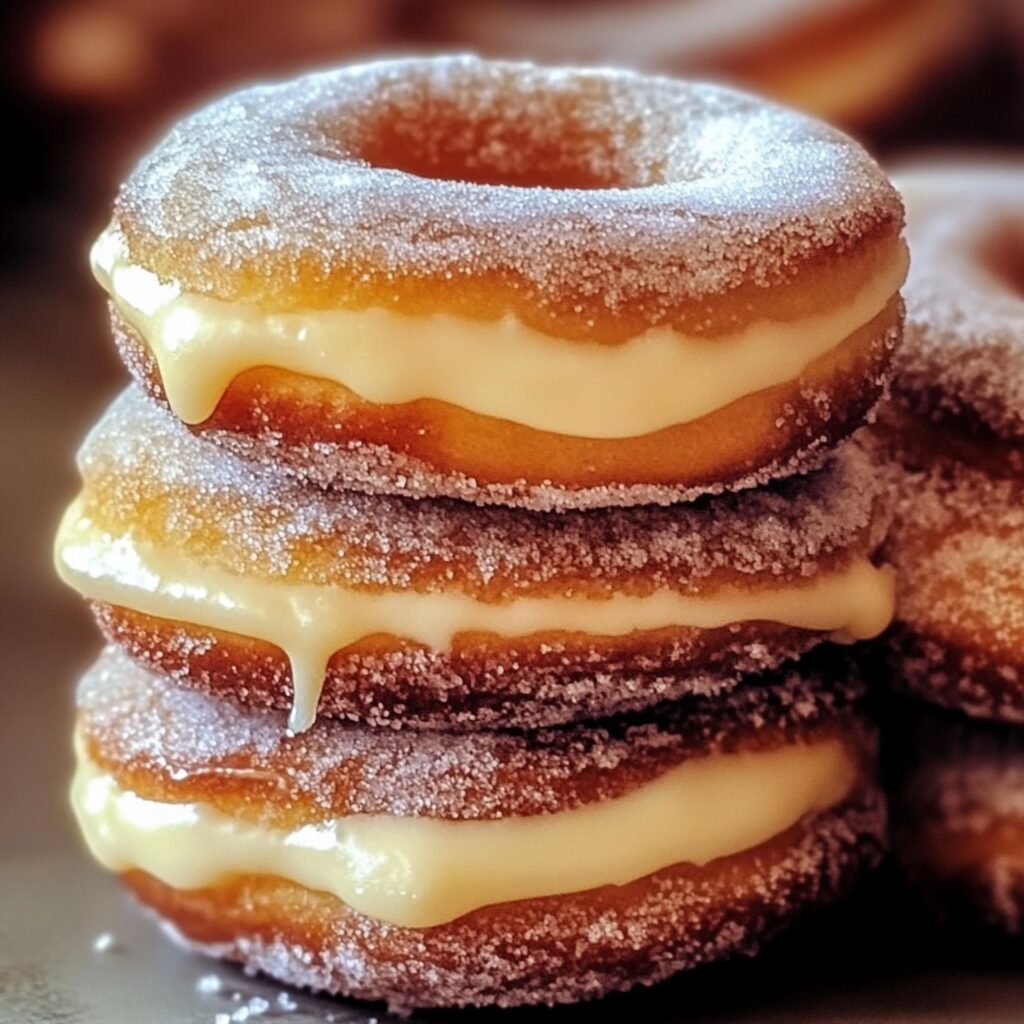
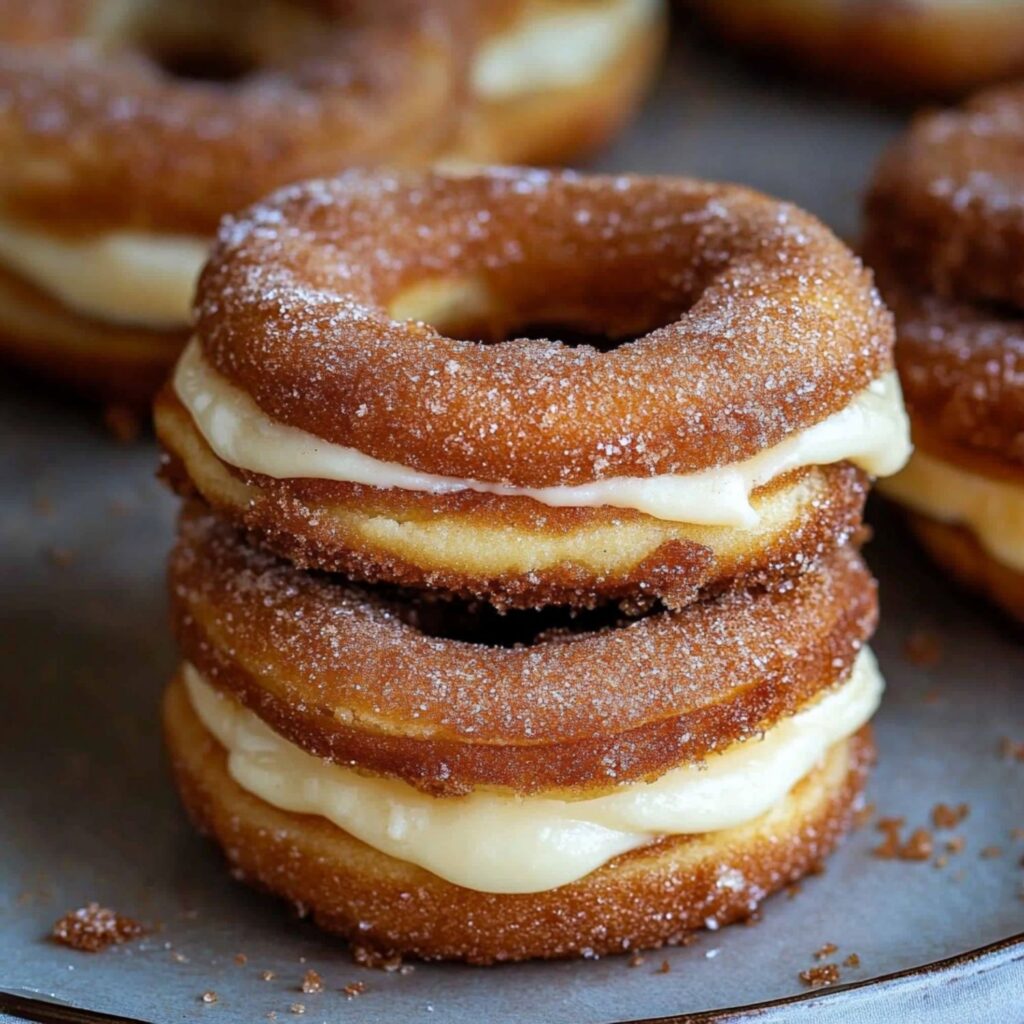
Imagine biting into a cookie that combines the best of three favorite desserts—churros, cheesecake, and donuts—all in one indulgent treat. These Churro Cheesecake Donut Cookies offer a sensational fusion of creamy cheesecake flavor, the warm, spiced charm of churros, and the pillowy softness of donuts. Each bite delivers a burst of cinnamon-sugar goodness, balanced with the rich, velvety taste of cream cheese.
Perfect for cozy evenings at home, celebratory parties, or as a delightful gift during the holidays, these cookies go beyond being just another dessert. They’re an experience worth savoring. Whether you enjoy them coated in cinnamon sugar, drizzled with a cream cheese glaze, or paired with your favorite coffee, they’re bound to leave everyone asking for the recipe.
So, if you’re ready to impress your family and friends (or just treat yourself), this recipe is your ticket to cookie heaven. Let’s dive into the steps and secrets behind making these delectable Churro Cheesecake Donut Cookies.
Why You’ll Love This Recipe
- Triple Fusion: A unique combination of churros, donuts, and cheesecake flavors.
- Effortlessly Delicious: Simple ingredients and straightforward steps ensure success every time.
- Customizable: Perfect as-is or enhanced with glazes, fillings, or extra spices.
- Crowd-Pleaser: A batch big enough to share with loved ones—or to keep all for yourself!
- Quick Gourmet Dessert: Ready in under an hour for a homemade treat that feels fancy.
Ingredients Overview
- Flour and Leavening Agents: All-purpose flour, baking powder, and salt ensure the perfect texture—light yet sturdy enough to hold the cheesecake flavor.
- Butter and Cream Cheese: Key to the luxurious creaminess and rich flavor reminiscent of cheesecake.
- Sugars: Granulated and brown sugar work together to create depth and sweetness.
- Cinnamon Sugar Coating: The hallmark of churros, this adds warmth and a delightful crunch.
How to Make the Recipe
Step 1: Prepare Your Workspace
Preheat your oven to 350°F (175°C) to ensure it’s ready when the dough is prepared. Line a baking sheet with parchment paper or a silicone baking mat to prevent sticking. Gather all your ingredients and tools for a seamless baking experience.
Step 2: Mix Dry Ingredients
In a medium mixing bowl, whisk together the flour, baking powder, and salt. This ensures even distribution of leavening agents for consistent cookie texture. Set the dry mixture aside for later use.
Step 3: Cream Butter and Sugars
In a large bowl, beat the softened butter, granulated sugar, and brown sugar until light and fluffy. This step incorporates air, giving the cookies their soft, tender texture. Use a hand or stand mixer for best results.
Step 4: Add Wet Ingredients
Crack in the egg and pour in the vanilla extract, mixing until fully incorporated. These ingredients bind the dough and enhance its flavor. Ensure the mixture is smooth and creamy before moving to the next step.
Step 5: Incorporate Cream Cheese
Add the softened cream cheese to the bowl and beat until fully blended. This step creates a luscious, creamy texture reminiscent of cheesecake. Scrape down the sides of the bowl to ensure everything is evenly mixed.
Step 6: Combine Wet and Dry Ingredients
Gradually add the dry ingredients to the wet mixture in batches to avoid overmixing. Mix gently until just combined, ensuring a soft and tender cookie dough. Avoid overworking the dough to prevent tough cookies.
Step 7: Shape the Cookies
Use a cookie scoop or spoon to portion out the dough into even-sized balls. Place them on the prepared baking sheet, leaving 2 inches of space between each. This spacing prevents cookies from merging as they bake.
Step 8: Bake the Cookies
Bake in the preheated oven for 12–15 minutes, or until the edges are lightly golden. The centers should appear slightly soft but set as they cool. Remove from the oven and let them cool slightly on the baking sheet.
Step 9: Coat in Cinnamon Sugar
While the cookies are still warm, mix the cinnamon and sugar in a shallow bowl. Roll each cookie in the mixture until fully coated, ensuring an even layer of flavor. Allow the coated cookies to cool completely on a wire rack.
Tips for the Best Recipe
- Room Temperature Ingredients: Ensure butter and cream cheese are softened for a smooth dough.
- Chill the Dough: For firmer cookies, refrigerate the dough for 30 minutes before baking.
- Roll While Warm: Coating cookies in cinnamon sugar while warm ensures better adhesion.
- Add a Twist: Enhance the flavor with a pinch of nutmeg or cardamom in the coating.
- Even Baking: Use a cookie scoop for consistent-sized cookies that bake evenly.
Variations to Try
- Cream Cheese Glaze: Drizzle with a glaze made from powdered sugar, cream cheese, and milk.
- Chocolate Dipped: Dip half of each cookie into melted dark or white chocolate.
- Stuffed Cookies: Add Nutella or dulce de leche to the center before baking.
- Spiced Up: Incorporate cayenne pepper into the cinnamon sugar for a spicy kick.
Frequently Asked Questions (FAQs)
Q: Can I make these cookies ahead of time?
A: Yes, you can refrigerate the dough for up to 24 hours or freeze baked cookies for longer storage.
Q: How do I prevent spreading?
A: Chilling the dough helps cookies maintain their shape while baking.
Q: Can I use low-fat cream cheese?
A: Full-fat is recommended for the best texture, but low-fat will work in a pinch.
Q: How do I make them gluten-free?
A: Substitute all-purpose flour with a 1:1 gluten-free flour blend.
How to Store and Reheat
- Room Temperature: Store in an airtight container for up to 3 days.
- Refrigeration: Keeps for up to 5 days, though they’re best fresh.
- Freezing: Store in an airtight container for up to 2 months. Thaw at room temperature.
Conclusion
Churro Cheesecake Donut Cookies are a perfect blend of three favorite desserts, offering a unique and indulgent treat that will impress anyone. With a soft, creamy texture and a warm cinnamon-sugar coating, these cookies are sure to become a staple at every gathering. Whether you make them for a party, a cozy night at home, or as a special holiday gift, they are guaranteed to be the star of the show. The best part is that they’re easy to make and can be customized to suit any taste.
We hope you enjoy making these delicious cookies as much as we loved sharing the recipe with you! Don’t forget to follow us on Pinterest at Ava Foodie for more mouthwatering recipes and kitchen inspiration. We can’t wait to see how your batch turns out—be sure to share your feedback and tag us in your photos. Happy baking!