
There’s nothing quite like the smell of freshly baked cookies filling the kitchen, especially on a cozy evening. Whether it’s a family tradition or a spontaneous treat, cookies bring comfort and joy with every bite. But what if you could take your cookie game to the next level with an explosion of flavors and textures?
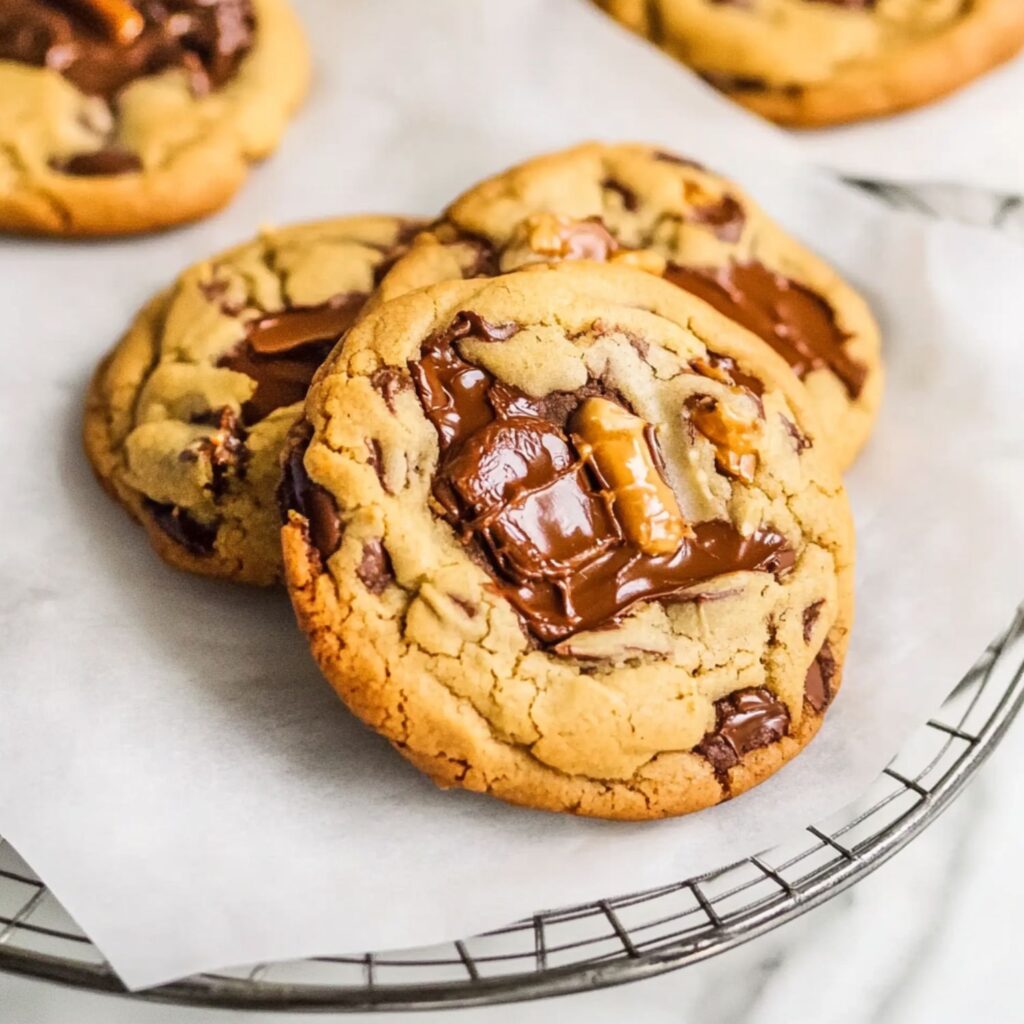
Enter Kitchen Sink Cookies, a sweet and salty masterpiece that satisfies every craving in one bite. These cookies combine chocolatey, nutty, chewy, and crispy elements, making them the ultimate all-in-one treat. Perfect for those who love variety, they ensure that no two bites are ever the same.
Best of all, these cookies are incredibly versatile—you can customize the mix-ins to suit your personal tastes. Whether you love pretzels, toffee bits, or potato chips, the choice is yours. Get ready to bake a batch of chewy, crunchy, and irresistible cookies that everyone will love!
Why You’ll Love This Recipe
- Endlessly customizable – Use your favorite mix-ins to make these cookies uniquely yours.
- Soft, chewy, and crispy – A perfect balance of textures in every bite.
- No mixer required – Just a bowl, a spatula, and simple pantry ingredients.
- Freezer-friendly – Prep the dough ahead of time for quick and easy baking.
- Perfect for sharing – A big batch of cookies makes these ideal for gifting or get-togethers.

Ingredients Overview
These cookies are all about variety, and each ingredient plays a key role:
- Flour, baking soda, and baking powder – The foundation for structure and texture.
- Brown sugar and granulated sugar – Adds sweetness and chewiness.
- Melted butter – Enhances richness and keeps the cookies soft.
- Eggs and vanilla – Helps bind everything together and adds depth of flavor.
- Chocolatey mix-ins – Use chocolate chips, chunks, or candies for sweetness.
- Salty mix-ins – Pretzels, potato chips, or a combination for crunch.
- Nutty mix-ins – Peanuts, almonds, or macadamia nuts for added texture.
- Chewy/sticky mix-ins – Toffee bits, caramel pieces, or dried fruit for contrast.
How to Make Kitchen Sink Cookies
Step 1: Mix the Dry Ingredients
In a medium bowl, whisk together the flour, baking soda, baking powder, and salt. Set aside.
Step 2: Combine Wet Ingredients
In a large mixing bowl, stir together the melted butter, brown sugar, granulated sugar, and vanilla until the mixture is glossy and well combined. Add the eggs and mix until fully incorporated.
Step 3: Form the Dough
Gradually add the dry ingredients to the wet mixture, stirring until just combined. A few streaks of flour are okay. Gently fold in your selected mix-ins, ensuring even distribution without crushing delicate ingredients.
Step 4: Scoop and Chill
Using a 2 1/2-inch scoop, portion the dough into 1/3 cup-sized rounds and place them on a parchment-lined baking sheet. Freeze for at least 15 minutes or refrigerate for up to 24 hours.
Step 5: Preheat the Oven
Arrange the oven racks to the top and bottom thirds, then preheat the oven to 350°F. Line two baking sheets with parchment paper.
Step 6: Bake the Cookies
Arrange the chilled dough portions on the prepared baking sheets, spacing them about 3 inches apart. Bake for 8 minutes, then rotate the pans. Continue baking for another 6 to 9 minutes until golden brown and set in the center.
Step 7: Cool and Enjoy
Let the cookies cool on the baking sheet for a few minutes before transferring them to a wire rack. Enjoy warm, or store leftovers in an airtight container for up to 3 days.
Tips for the Best Cookies
- Measure the mix-ins properly – Weigh chips, pretzels, and other ingredients for balanced cookies.
- Chill the dough – Helps control spreading and enhances flavor development.
- Rotate baking sheets – Ensures even baking for golden, crispy edges.
- Use high-quality chocolate – A mix of dark and semi-sweet chocolate adds depth.
- Don’t overbake – The cookies will continue to set after coming out of the oven.
Variations to Try
- Swap the chocolate – Use white, milk, or dark chocolate chips for different sweetness levels.
- Add peanut butter or Nutella – Swirl in a few spoonfuls before baking.
- Try a candy mix-in – M&M’s, Twix pieces, or Snickers chunks work great.
- Make them gluten-free – Use a 1:1 gluten-free flour blend.
- Spice it up – Add a pinch of cinnamon for a warm, cozy flavor.
Frequently Asked Questions (FAQs)
1. Can I use different mix-ins?
Absolutely! The beauty of Kitchen Sink Cookies is that you can use whatever sweet or salty ingredients you love.
2. Can I freeze the dough?
Yes! Scoop and freeze the dough balls on a baking sheet, then transfer them to a resealable plastic bag. Bake from frozen, adding 2-3 extra minutes to the baking time.
3. How do I prevent my cookies from spreading too much?
Chilling the dough helps prevent excessive spreading. Also, avoid overmixing the butter and sugar.
4. Can I make smaller cookies?
Sure! Use a smaller scoop and reduce the baking time accordingly.
5. How long do these cookies stay fresh?
Stored in an airtight container, they stay fresh for up to 3 days. For longer storage, freeze them.
How to Store and Reheat
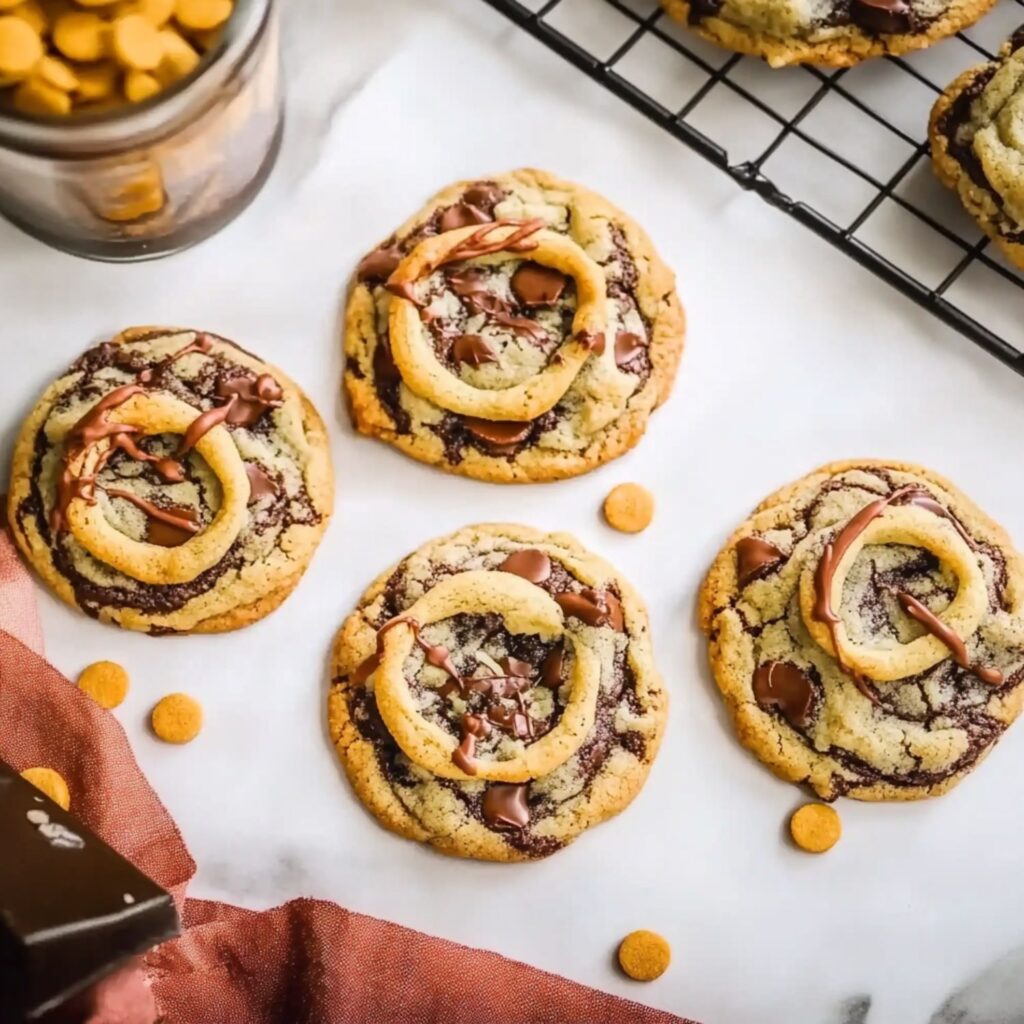
- At room temperature: Store in an airtight container for up to 3 days.
- In the fridge: Keeps fresh for up to a week, but bring to room temperature before eating.
- In the freezer: Freeze baked cookies for up to 2 months; reheat in a 300°F oven for 5 minutes.
Conclusion
If you love big, chewy cookies with an exciting mix of flavors and textures, Kitchen Sink Cookies are a must-try. The combination of sweet, salty, crunchy, and chewy elements makes them one of the most satisfying cookies you’ll ever bake. Plus, with endless mix-in possibilities, you’ll never get bored of this recipe.
So, grab your favorite mix-ins, preheat your oven, and enjoy baking a batch of these delicious cookies! Don’t forget to follow Ava Foodie on Pinterest for more fun and flavorful recipes.


