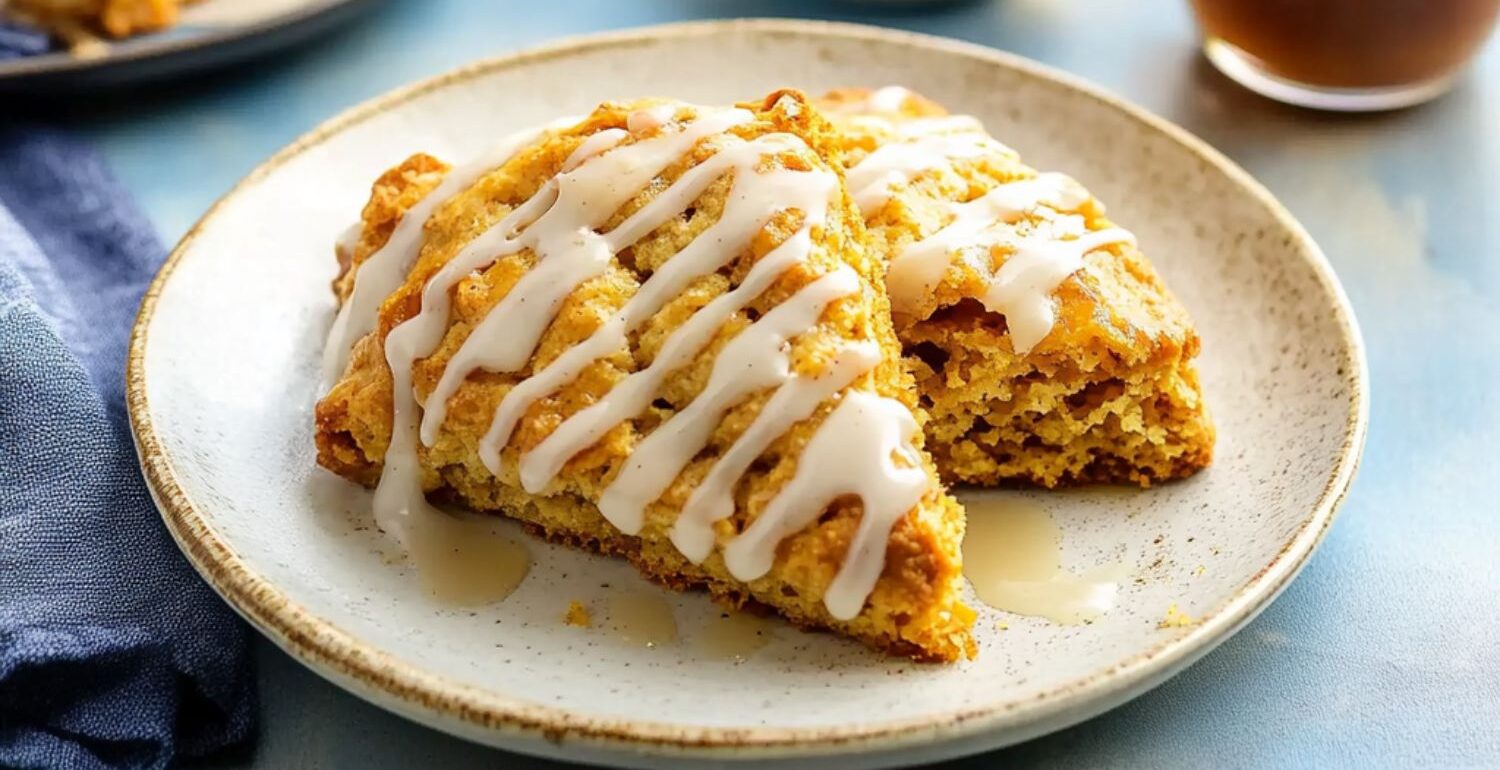

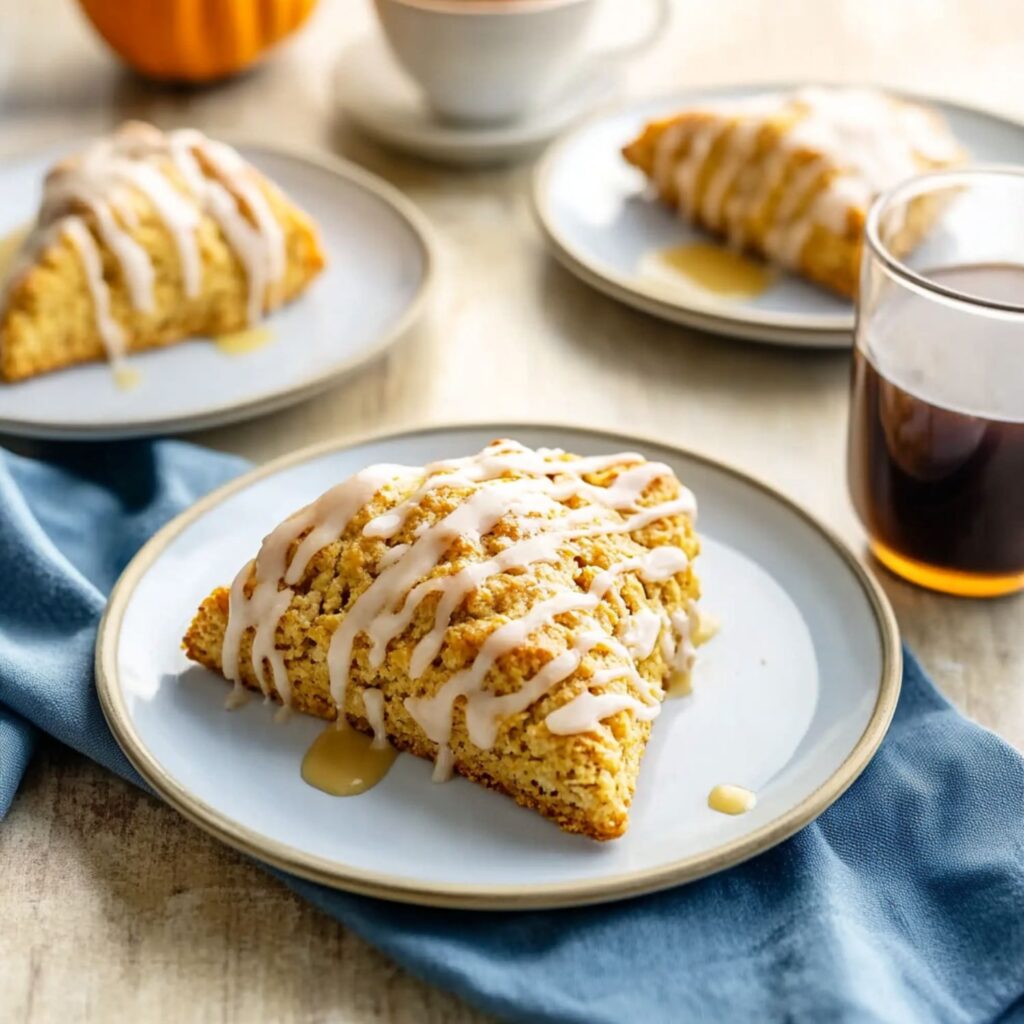
As the days grow shorter and the air turns crisp, there’s nothing quite as comforting as a warm, spiced treat fresh from the oven. These pumpkin scones, infused with aromatic pumpkin spice and topped with a luscious maple glaze, are the perfect companion to a cozy autumn morning. Each bite offers a tender, flaky texture with just the right balance of sweetness and spice, making them irresistible.
Perfect for breakfast, brunch, or an afternoon coffee break, these scones come together with minimal effort. You can even prepare the dough in advance for a quick and stress-free morning bake. Whether you’re enjoying them fresh out of the oven or saving one for later, they’re sure to bring warmth and delight to your day.
With the rich flavor of pumpkin, the crunch of turbinado sugar, and a drizzle of maple goodness, these scones are bound to become a seasonal favorite. Plus, they’re easy to customize with your favorite add-ins. Let’s dive into this foolproof recipe that guarantees bakery-quality results at home.
Why You’ll Love This Recipe
- Quick & Easy – Minimal prep work and simple techniques make these scones approachable for any baker.
- Flavor-Packed – A delightful mix of pumpkin spice, maple, and buttery goodness.
- Make-Ahead Friendly – Prepare the dough the night before for a fresh-baked treat in the morning.
Ingredients Overview
Pumpkin puree brings moisture and a natural sweetness to the scones, while pumpkin pie spice enhances the warm, autumnal flavors. Cold butter ensures a flaky texture, and dark brown sugar adds a hint of caramel richness. The maple glaze ties everything together with a silky, sweet finish. Feel free to customize the scones with nuts, chocolate chips, or dried fruit.
How to Make the Recipe
Step 1: Prepare the Butter and Dry Ingredients
Dice the cold butter into small cubes and keep them in the freezer. In a large bowl, whisk together the flour, brown sugar, baking powder, pumpkin pie spice, and salt. Stir until well combined and even in texture. Keeping the butter cold ensures a flaky, tender scone texture.
Step 2: Incorporate the Butter
Add the chilled butter cubes to the flour mixture. Use a pastry blender or your hands to cut the butter into the flour. The mixture should resemble coarse crumbs with small, pea-sized butter pieces. This step helps create light, flaky layers in the scones.
Step 3: Mix the Wet Ingredients
In a separate bowl, whisk together the pumpkin puree and eggs until smooth. Stir well to ensure the pumpkin is fully incorporated. A smooth mixture helps blend evenly with the dry ingredients. This step ensures the dough binds well without overmixing.
Step 4: Form the Dough
Slowly pour the wet mixture into the dry ingredients. Use a spatula to gently fold everything together. Mix just until the dough begins to form, avoiding overmixing. Overworking the dough can make the scones dense rather than light and flaky.
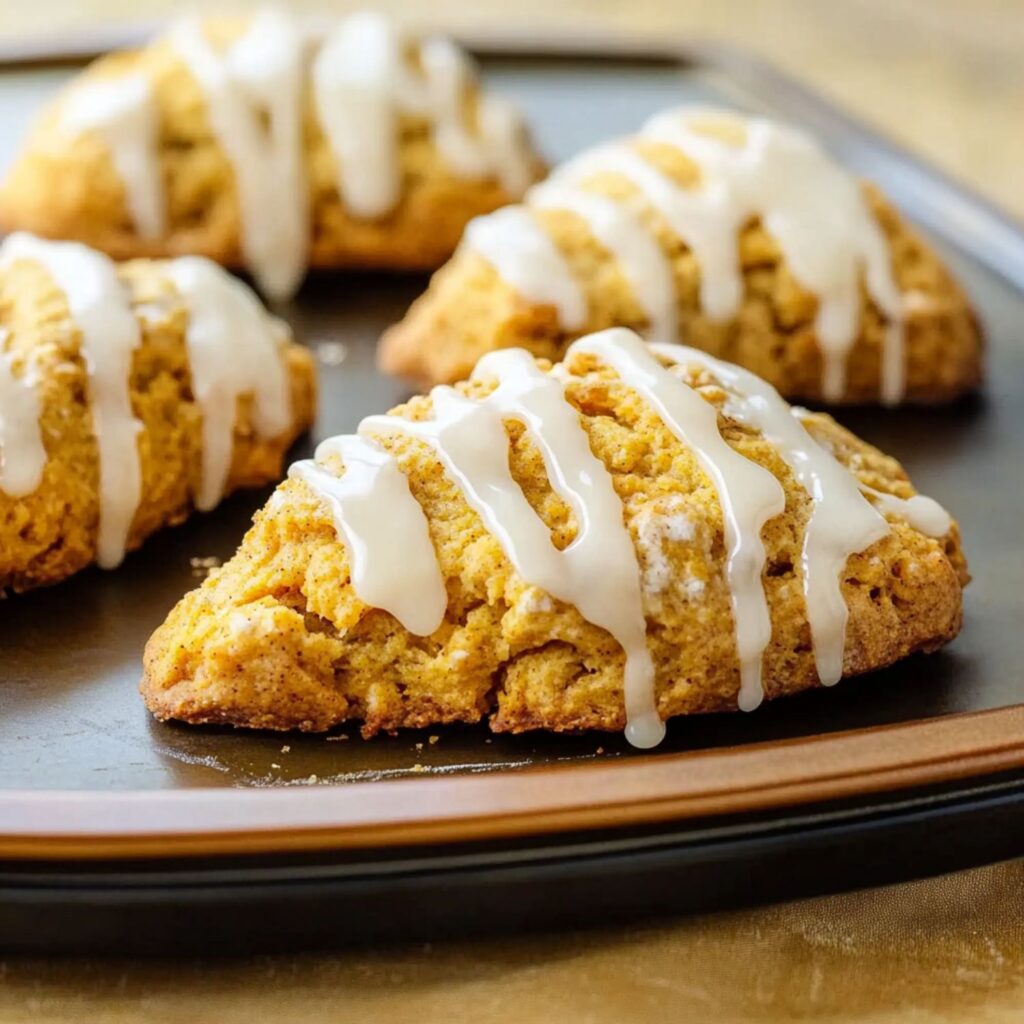
Step 5: Shape and Cut
Transfer the dough onto a lightly floured surface and knead it gently. Shape it into an 8-inch circle with an even thickness. Using a sharp knife, cut the dough into 8 equal wedges. This step ensures uniform baking and a consistent texture.
Step 6: Chill and Preheat
Place the scones on a lined baking sheet, ensuring space between them. Transfer the sheet to the freezer for 20-30 minutes to firm up. Meanwhile, preheat the oven to 425°F to ensure even baking. Chilling helps the scones maintain their shape during baking.
Step 7: Bake
Brush the tops of the scones with milk and sprinkle with turbinado sugar. Bake for 17-22 minutes, until golden brown and firm to the touch. Allow them to cool on the baking sheet for a few minutes. Cooling helps set the structure before adding the glaze.
Step 8: Make the Maple Glaze
In a small bowl, whisk together powdered sugar, maple syrup, vanilla extract, and salt. Stir until the glaze is smooth, adjusting thickness with more sugar or syrup. The glaze should be pourable but not too runny. Let it sit for a minute to thicken slightly.
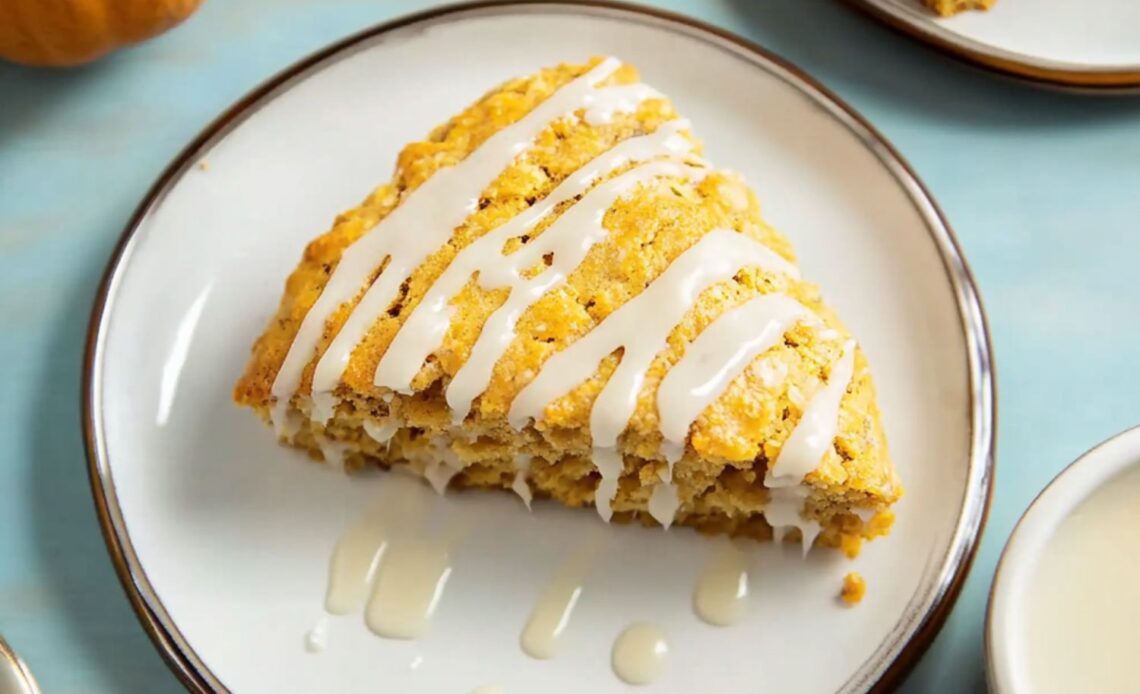
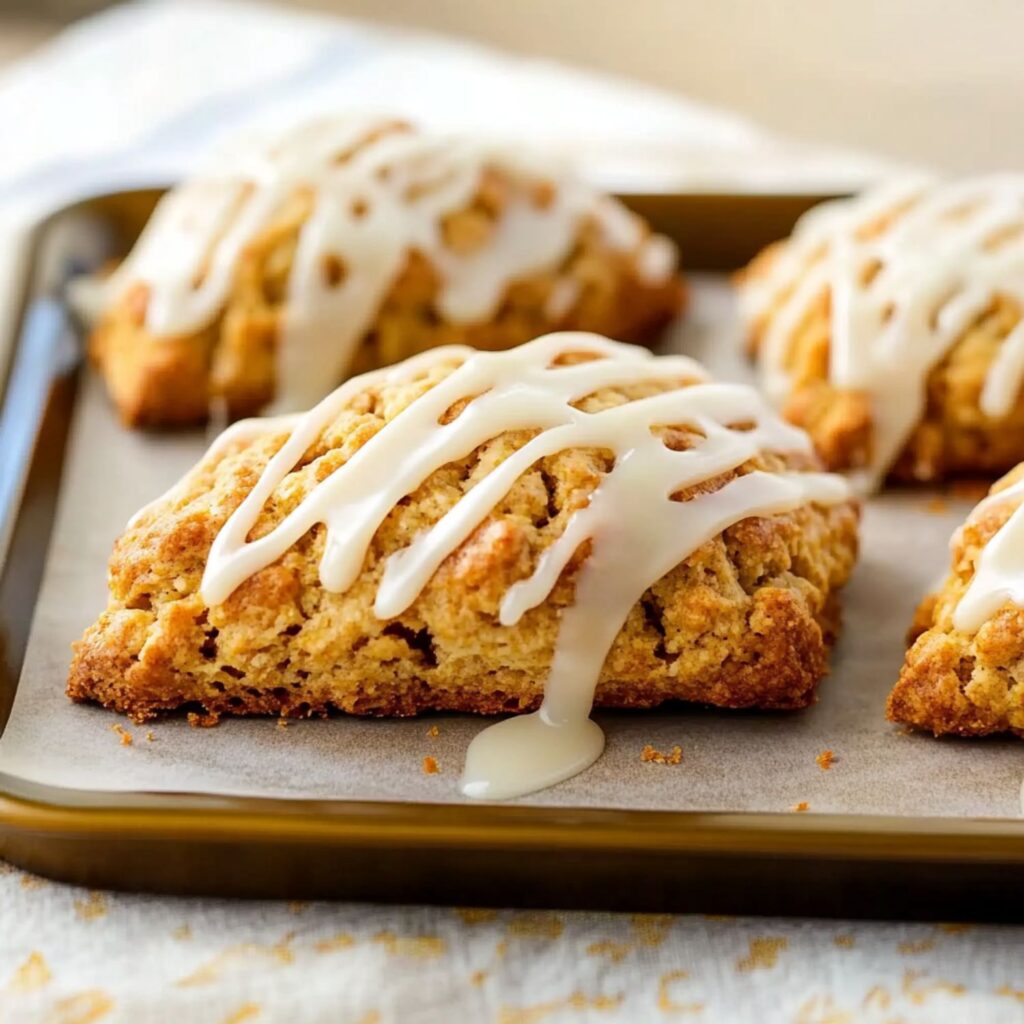
Step 9: Glaze and Serve
Drizzle the glaze over the cooled scones using a spoon. Let it set for about 10 minutes before serving. The glaze hardens slightly for a perfect finish. Enjoy fresh or store for later—either way, they taste amazing!
Tips for the Best Recipe
- Use cold butter and eggs straight from the fridge to ensure a flaky texture.
- Don’t overmix the dough—this helps keep the scones tender.
- Chilling the scones before baking helps them hold their shape and enhances the flakiness.
Variations to Try
- Nutty Crunch – Add toasted pecans or pumpkin seeds for extra texture.
- Chocolate Twist – Mix in white or dark chocolate chips.
- Fruity Addition – Dried cranberries or crystallized ginger make great seasonal add-ins.
Frequently Asked Questions
1. Can I use homemade pumpkin puree?
Yes! Just make sure it’s thick and not too watery.
2. Can I freeze the dough?
Yes, shape and cut the scones, then freeze them unbaked. Bake straight from the freezer, adding a couple of extra minutes.
3. What can I use instead of maple syrup for the glaze?
Honey or a simple powdered sugar glaze works as an alternative.
4. Why are my scones dry?
Overmixing the dough or adding too much flour can make them dry.
5. How do I get a stronger pumpkin flavor?
Use a high-quality canned pumpkin and increase the spices slightly.
How to Store and Reheat
- Store at room temperature in an airtight container for up to 2 days.
- Freeze baked scones for up to 2 months. Defrost at room temperature before serving.
- Reheat in the oven at 300°F for 5-7 minutes for a fresh-baked taste.
Conclusion
These pumpkin scones are an effortless way to bring the cozy flavors of fall into your kitchen. Whether you’re enjoying them with coffee, tea, or as a special treat, their tender texture and rich maple glaze make every bite delightful.
Try them for a weekend brunch or bake a batch to share with family and friends. Don’t forget to customize them with your favorite add-ins! If you loved this recipe, follow Ava Foodie on Pinterest for more delicious seasonal treats.