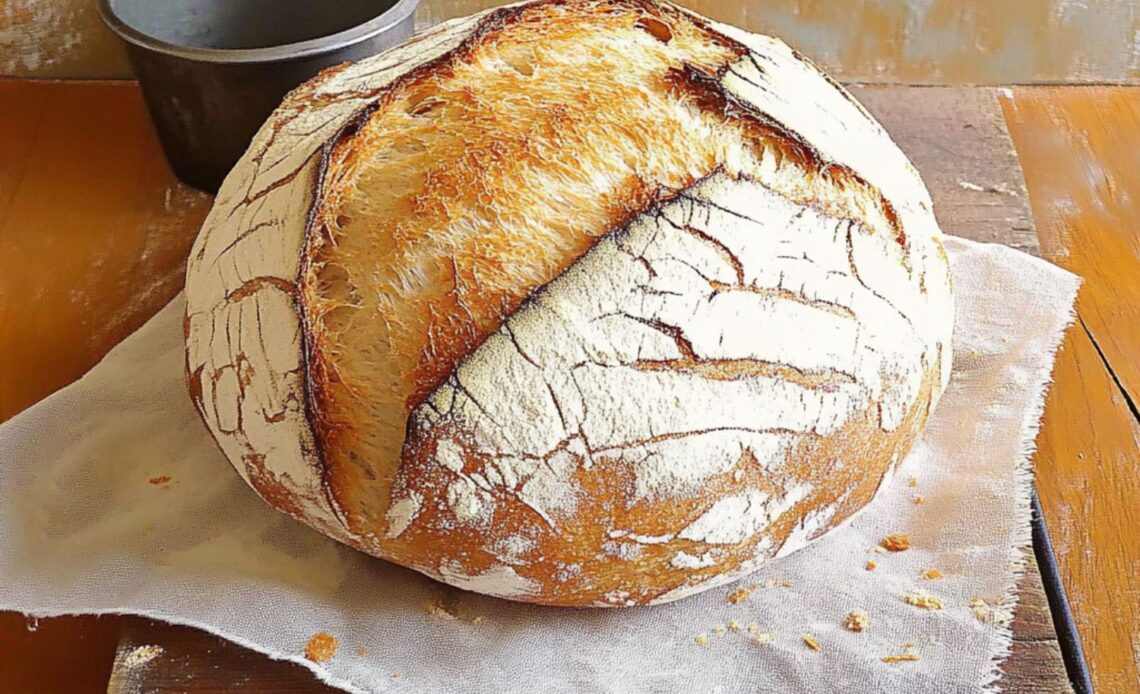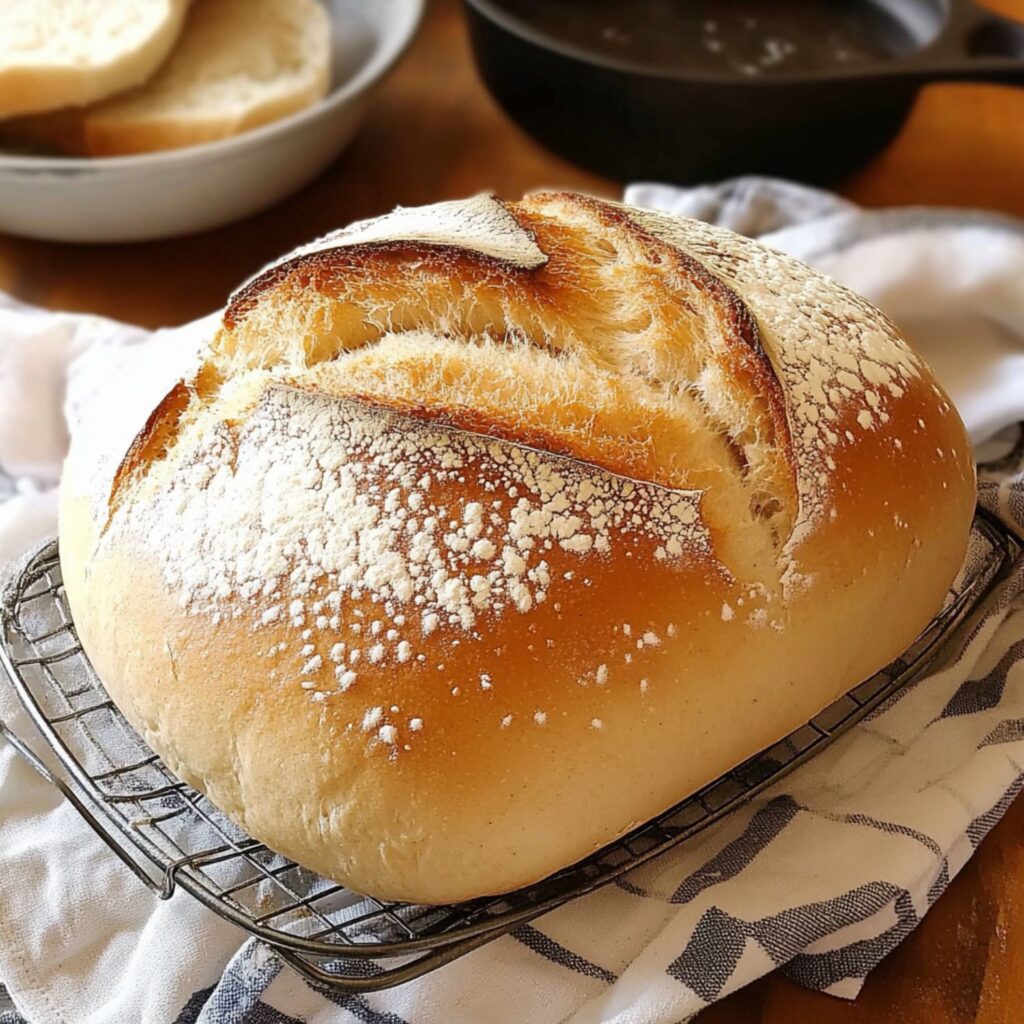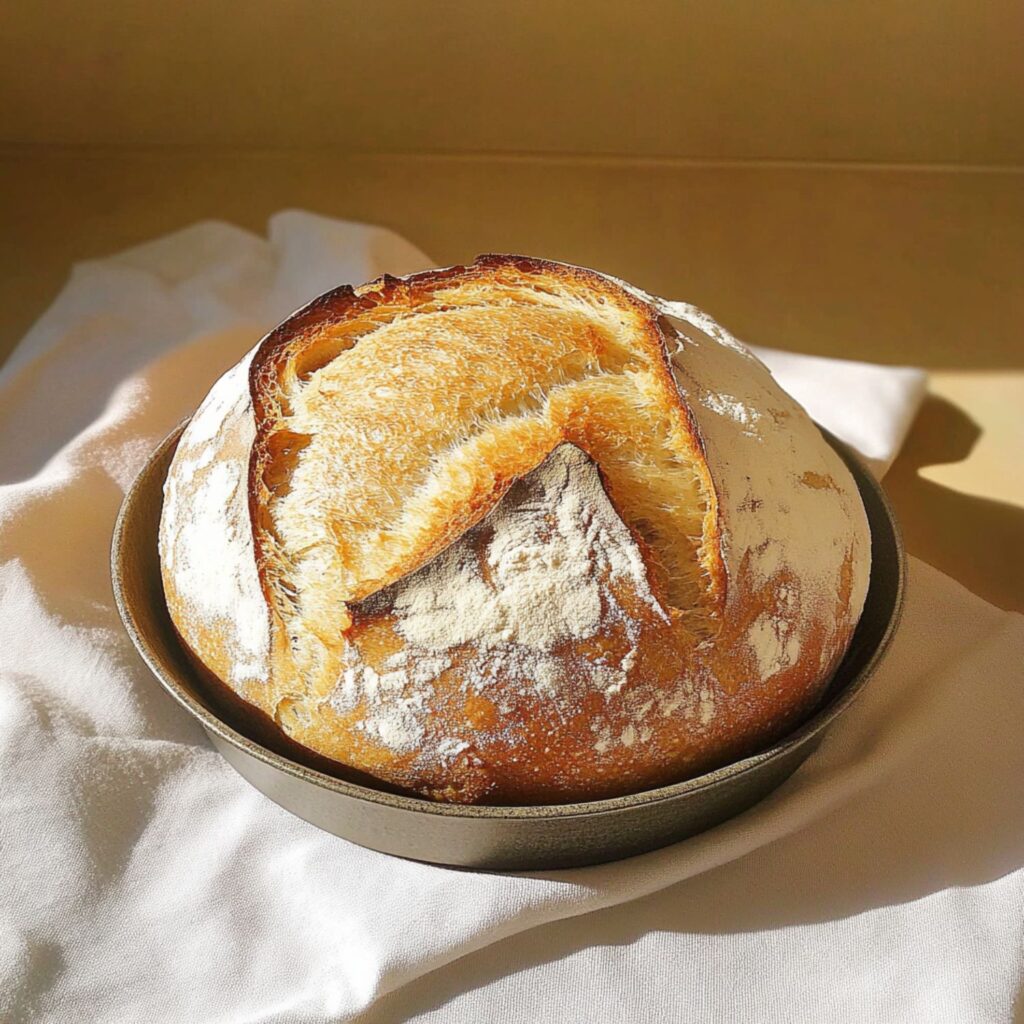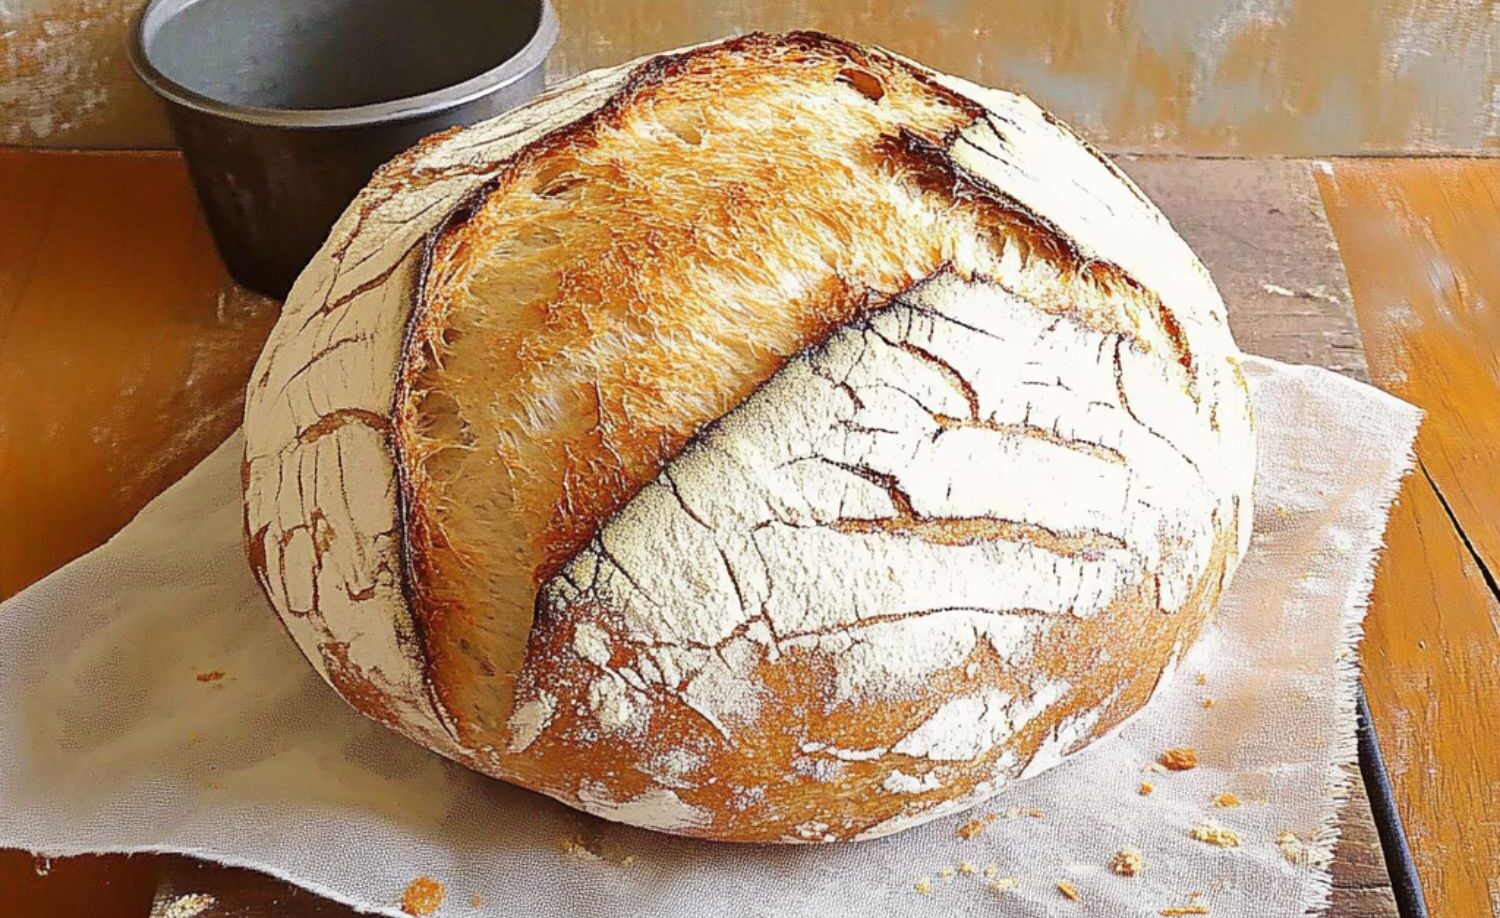
The aroma of freshly baked sourdough bread is truly irresistible, but traditional recipes require long fermentation times. What if you could enjoy the same delicious tangy flavor and crisp crust in just one day? That’s exactly what this speedy same-day sourdough recipe delivers!
No need to wait overnight—this quick method ensures a beautifully golden loaf with a soft, airy interior. Perfect for sandwiches, toast, or simply enjoying on its own, this recipe is designed for home bakers who want fast results without compromising on flavor. If you love sourdough but don’t want to commit to a multi-day process, this is your go-to recipe.
Whether you’re a seasoned sourdough baker or a beginner looking for a quicker way to make artisan bread at home, this recipe will become your new favorite. Say goodbye to long fermentation times and hello to fresh, homemade sourdough in just a few hours!
Why You’ll Love This Recipe
- Quick preparation – Enjoy fresh sourdough the same day.
- Classic sourdough flavor – Achieve that signature tang with less waiting.
- No overnight fermentation – Ideal for last-minute baking needs.
- Versatile and adaptable – Perfect for sandwiches, toast, or a rustic side.
Ingredients Overview
Every ingredient in this recipe plays a crucial role in achieving the perfect loaf.
- All-purpose flour – Provides structure and softness to the bread.
- Water – Hydrates the dough for proper gluten development.
- Sourdough starter – The natural leavening agent that gives the bread its characteristic tang.
- Salt – Enhances flavor and controls yeast activity.
Want to customize your loaf? You can replace up to 50% of the all-purpose flour with whole wheat for a heartier texture.

How to Make Speedy Same-Day Sourdough Bread
Mix Ingredients
In a large bowl, pour 290g water and stir in 160g sourdough starter until fully combined. Sprinkle in 8g salt and mix well to dissolve it completely. Add 410g all-purpose flour and mix with a spoon until no dry flour remains.
Cover the bowl with plastic wrap or a damp towel to prevent drying. Let the mixture rest for 30 minutes to allow the flour to absorb the water fully. This step helps with gluten development, making the dough easier to handle later.
Stretch and Fold
Grab one edge of the dough, stretch it upward gently, then fold it over itself. Rotate the bowl slightly and repeat the process on all four sides. This strengthens the gluten and improves dough structure.
Repeat the stretch and fold process four times every 20 minutes over the next hour. After each stretch and fold, cover the dough and let it rest before performing the next round. You’ll notice the dough becoming more elastic with each set.
Bulk Fermentation
Cover the bowl and let the dough rise at room temperature for 3–4 hours. During this time, the dough will become airy and nearly double in size. Check its progress by pressing a finger into the dough—if it springs back slowly, it’s ready for the next step.
If your kitchen is cool, extend the fermentation time slightly. If it’s warm, check the dough earlier to avoid overproofing, which can lead to a dense loaf.
Shape the Dough
Lightly flour a work surface and turn the dough out onto it. Gently stretch the dough into a rough rectangle. Fold one side toward the center, then fold the opposite side over it. This step helps create surface tension.
Flip the dough so the seam is on the bottom, then use your hands to shape it into a round or oval loaf. The tighter the shape, the better the final structure of your bread.
Final Proof
Place the shaped dough into a well-floured banneton basket or a bowl lined with a floured tea towel. Cover it with a clean towel and let it proof for 2 hours. During this time, the dough will rise slightly and develop more flavor.
To check if the dough is ready, gently press it with a finger. If the indentation slowly springs back, it’s proofed correctly. If it stays deep, bake immediately to prevent overproofing.
Preheat the Oven
One hour before baking, set your oven to 460°F (238°C) and place a Dutch oven inside to heat up. A preheated Dutch oven traps steam, creating a crisp crust. If you don’t have one, use a baking stone with a pan of hot water at the bottom of the oven.
Let the oven heat for at least an hour to ensure a consistent baking temperature. A properly heated baking surface is key to getting a good oven spring.
Score and Bake
Carefully flip the dough onto a piece of parchment paper, placing it seam-side down. Use a bread lame or a sharp knife to score the top. This allows controlled expansion during baking.
Place the dough into the preheated Dutch oven, cover with a lid, and bake for 30 minutes. Then, remove the lid, lower the temperature to 440°F (227°C), and bake for another 10 minutes to achieve a deep golden crust.
Cool
Transfer the baked bread onto a wire rack and let it cool for at least 1 hour. Cutting into hot bread can make it gummy inside. Cooling allows the interior to set properly and enhances the texture.
Once fully cooled, slice and enjoy your fresh, homemade sourdough!

Tips for the Best Speedy Sourdough
- Use an active starter – Ensure it’s bubbly and fed 4–6 hours before baking.
- Control fermentation time – Don’t let the dough overproof; use the poke test.
- Preheat your Dutch oven – This ensures a crispy, golden crust.
- Let the bread cool completely – Slicing too early results in a gummy texture.
Variations to Try
- Whole Wheat Sourdough – Replace up to 50% of the all-purpose flour.
- Herb & Garlic Sourdough – Add 1 tbsp dried herbs and minced garlic.
- Seeded Sourdough – Mix in flaxseeds, sunflower seeds, or sesame seeds.
- Cheesy Sourdough – Fold in shredded cheese before shaping.
Frequently Asked Questions
Q: Can I use whole wheat flour instead of all-purpose flour?
Yes! Replace up to 50% of the flour but adjust the hydration accordingly.
Q: What if my starter isn’t bubbly enough?
Feed it and let it rest in a warm spot for 4–6 hours before using.
Q: How do I know if my dough is overproofed?
If it collapses when poked, it’s overproofed. Reduce proofing time next time.
Q: Can I bake without a Dutch oven?
Yes! Use a heavy pot with a lid or create steam in your oven with a baking stone.
Q: Why is my bread dense?
An inactive starter or insufficient stretch and folds may be the cause.

How to Store and Reheat
- At Room Temperature: Store in a bread bag or wrapped in a clean towel for 2–3 days.
- Freezing: Slice and freeze in an airtight container for up to 3 months.
- Reheating:
- Slices: Toast or warm in a skillet.
- Whole Loaf: Wrap in foil and warm at 350°F (175°C) for 10–15 minutes.
- For a Crispy Crust: Remove foil in the last 5 minutes.
Conclusion
You’ve just mastered the Speedy Same-Day Sourdough Bread Recipe! This easy yet flavorful loaf proves that great sourdough doesn’t have to take days. With its crispy crust, airy crumb, and signature tangy taste, this quick version will become a staple in your home. If you try this recipe, leave a comment below and let us know how it turned out! Follow Ava Foodie on Pinterest for more delicious baking inspiration.


