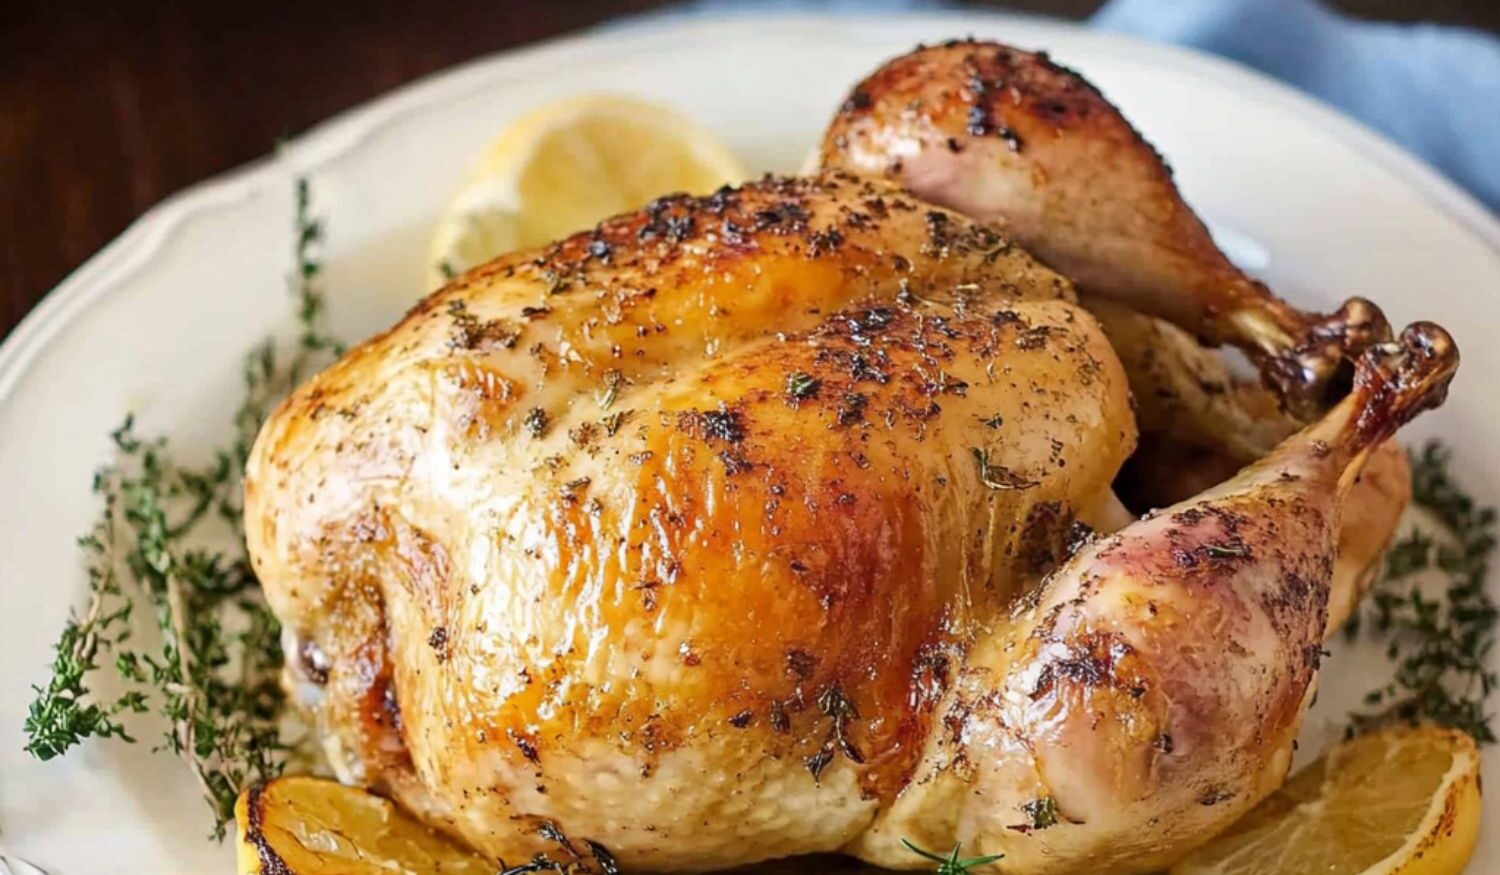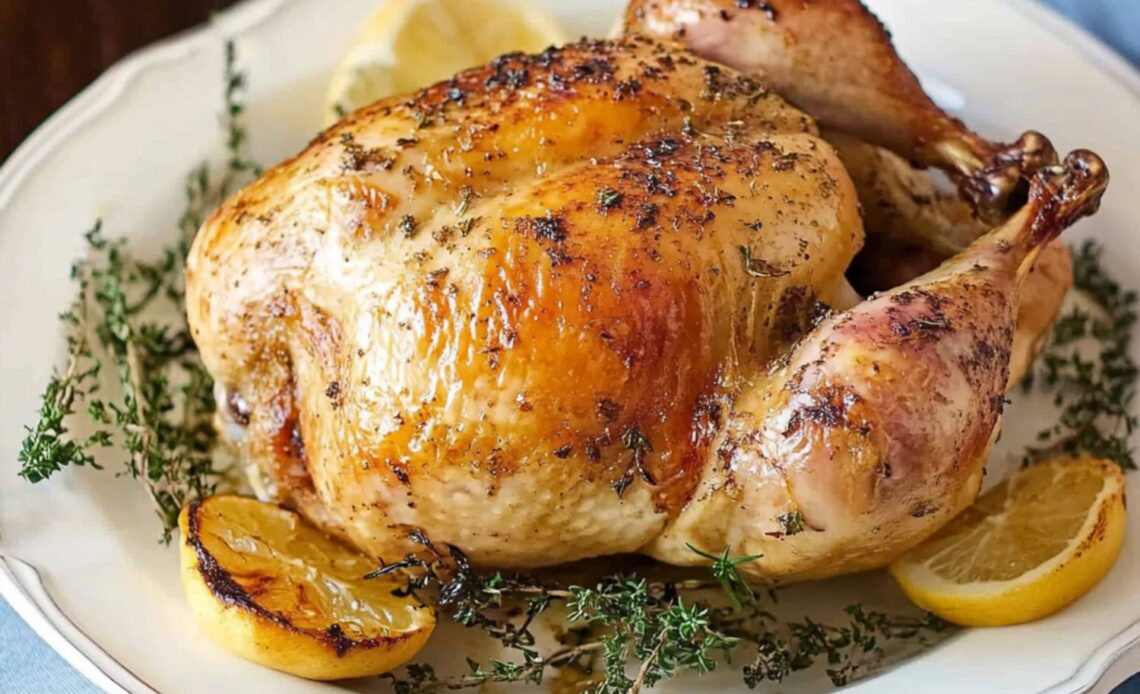
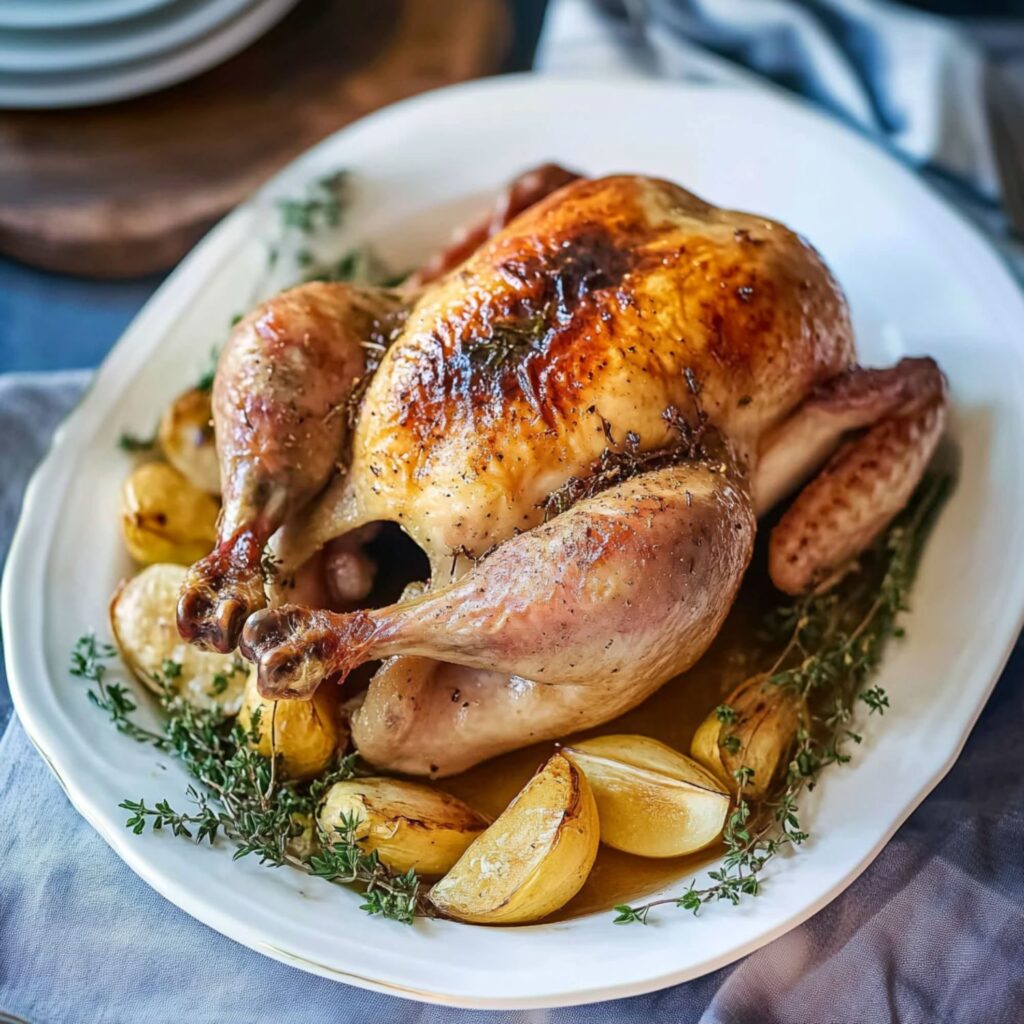
Dinner doesn’t have to be complicated to be memorable. Sometimes, simplicity is the ultimate sophistication, and that’s exactly what this Dry-Brined Roast Chicken delivers. With just six ingredients—two of which are pantry staples like salt and pepper—this recipe is a masterclass in minimalism and flavor.
The secret lies in the preparation, where patience rewards you with tender, juicy meat and delightfully crispy skin. The method is simple: a dry brine and air-drying, techniques borrowed from turkey roasting, elevate this chicken into a showstopper.
Imagine this: You come home to the tantalizing aroma of a perfectly roasted chicken, its golden-brown skin promising crispness with every bite. Whether it’s a quiet weeknight dinner or an impressive main course for guests, this recipe adapts to your schedule and cravings effortlessly.
Why You’ll Love This Recipe
- Simplicity: Only six ingredients and five minutes of prep time.
- Flavorful and Juicy: The dry brine penetrates deep into the meat for robust seasoning.
- Crispy Skin: Air-drying ensures a perfectly crispy exterior.
- Flexible Timing: Roast it after 24, 48, or even 72 hours in the fridge for added convenience
Ingredients Overview
- Whole Chicken: A 5- to 6-pound chicken is perfect for even cooking and maximum flavor.
- Kosher Salt: Enhances the natural taste while tenderizing the meat.
- Fresh Lemon: Adds brightness and a subtle tang.
- Olive Oil: Ensures even browning and keeps the chicken moist.
- Thyme: Brings an earthy, aromatic quality.
- Cracked Pepper: Complements the salt and spices perfectly.
How to Make the Recipe
Step 1: Prepare the Pan
Line a rimmed baking sheet with foil and place a baking rack on top. Alternatively, use a roasting pan with a rack for even cooking.
Step 2: Make the Spice Rub
Zest the lemon and combine it with lemon juice, olive oil, salt, pepper, and thyme in a small bowl. Reserve the zested lemon quarters for the chicken cavity.
Step 3: Season the Chicken
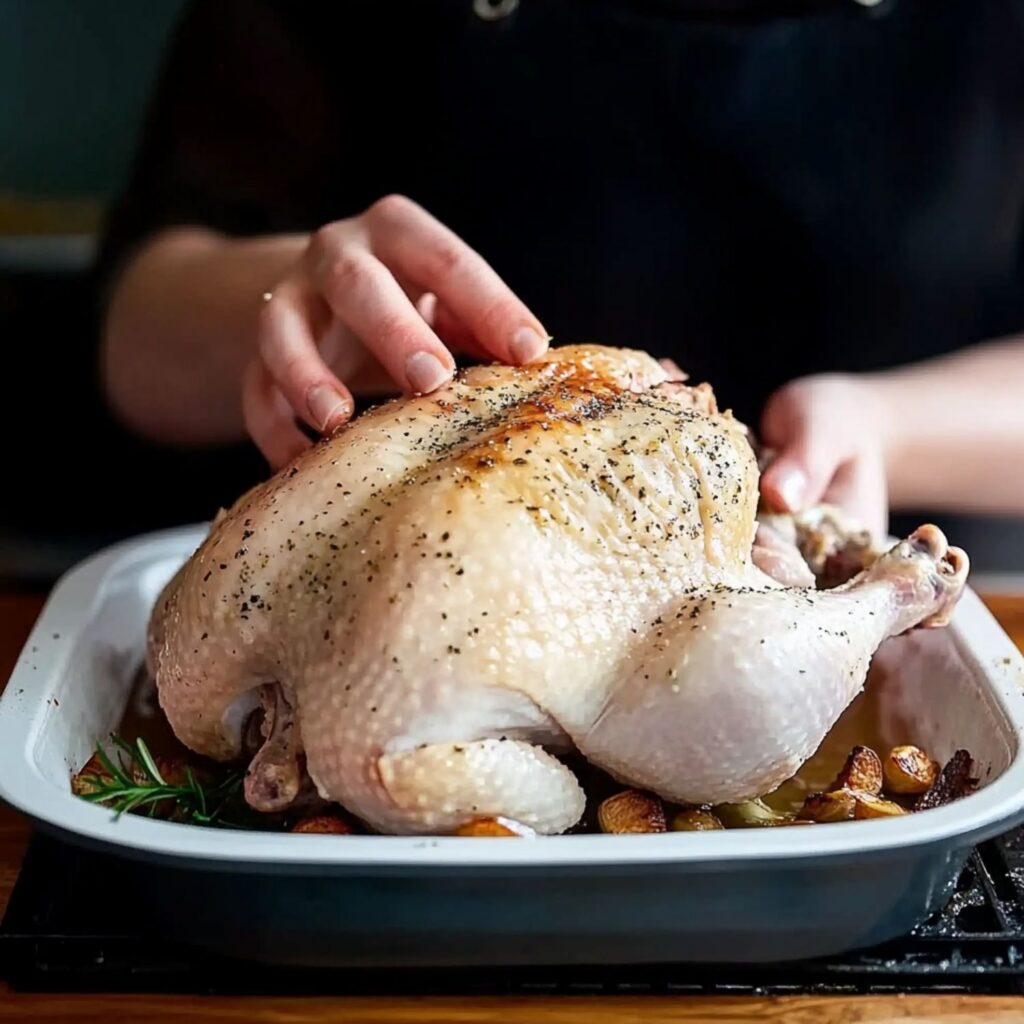
Pat the chicken dry with paper towels. Gently loosen the skin over the breast and legs, then rub three-quarters of the spice mixture under the skin. Use the remaining spice rub to season the cavity and insert the lemon quarters.
Step 4: Truss the Chicken
Tuck the wings under the bird. Using kitchen twine, tie the legs together for even roasting.
Step 5: Dry Brine and Air Dry
Place the chicken on the prepared rack and refrigerate uncovered for 24 to 72 hours. This step ensures crispy skin and deep seasoning.
Step 6: Preheat and Season Again
Preheat the oven to 375°F. Rub the chicken with additional olive oil, a sprinkle of salt, and freshly cracked pepper.
Step 7: Roast the Chicken
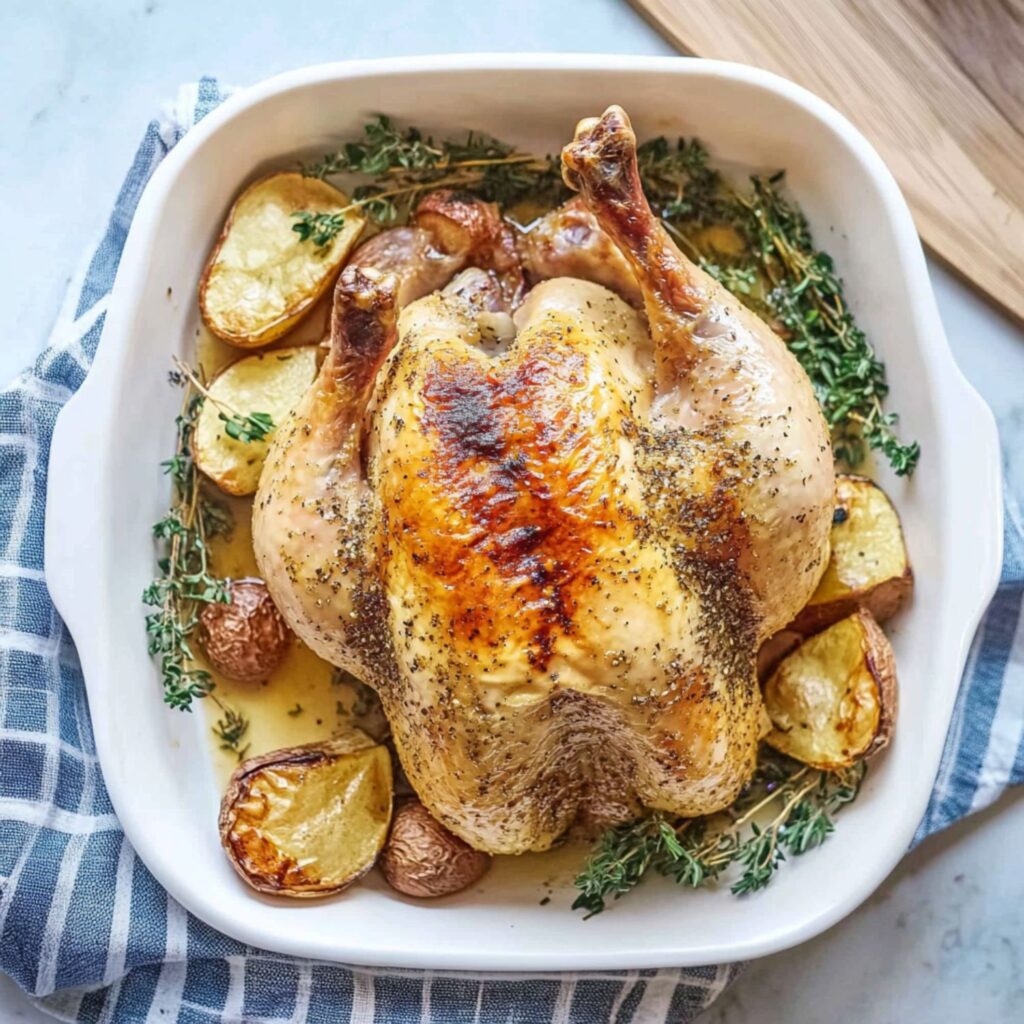
Roast the chicken for 1 hour at 375°F. Increase the temperature to 425°F and continue roasting for another 20 minutes, or until the internal temperature reaches 160°F in the thickest part of the breast.
Step 8: Baste for Perfection
Baste the chicken every 15-20 minutes after juices appear in the pan, ensuring moist, tender meat and a beautifully golden skin.
Step 9: Rest and Serve
Allow the chicken to rest for 5 minutes after removing it from the oven. The temperature will rise to the perfect 165°F. Carve, serve, and enjoy!
Tips for the Best Recipe
- Basting: It’s optional but enhances flavor and color. Use a spoon if you don’t have a baster.
- Check Juices: If the chicken releases juices later in the roasting process, adjust basting intervals to every 15 minutes.
- Thermometer Tip: If you don’t have a thermometer, ensure the juices run clear when slicing into the chicken.
Variations to Try
- Citrus and Herb: Add orange zest or sage for a fragrant twist.
- Garlic Butter: Swap olive oil with melted butter and minced garlic for a richer flavor.
- Spiced Up: Add smoked paprika or cumin for a bold, smoky profile.
Frequently Asked Questions (FAQs)
1. Can I skip the dry brine?
While optional, the dry brine ensures a deeply seasoned, tender chicken.
2. How do I store leftovers?
Refrigerate in an airtight container for up to 3 days or freeze for up to 3 months.
3. Can I roast vegetables with the chicken?
Absolutely! Add root vegetables like carrots and potatoes to the pan for a complete meal.
4. What if I don’t have kitchen twine?
Tuck the legs into the cavity or use foil to secure them.
5. Can I use a smaller chicken?
Yes, adjust the cooking time accordingly.
How to Store and Reheat
- Storage: Store leftovers in an airtight container in the fridge for up to 3 days.
- Reheating: Reheat in a 350°F oven until warmed through, or use the microwave for convenience.
Conclusion
This Dry-Brined Roast Chicken brings elegance to your dinner table with minimal effort. Its perfectly seasoned, crispy-skinned exterior and juicy interior make it a dish you’ll want to prepare repeatedly.
Don’t forget to follow Ava Foodie on Pinterest for more recipe inspiration!


